Action Choice
To upgrade an existing instance of Subscription Manager, start by running the installer from the Start menu. Next, select “Upgrade” from the list of operations that can be performed.
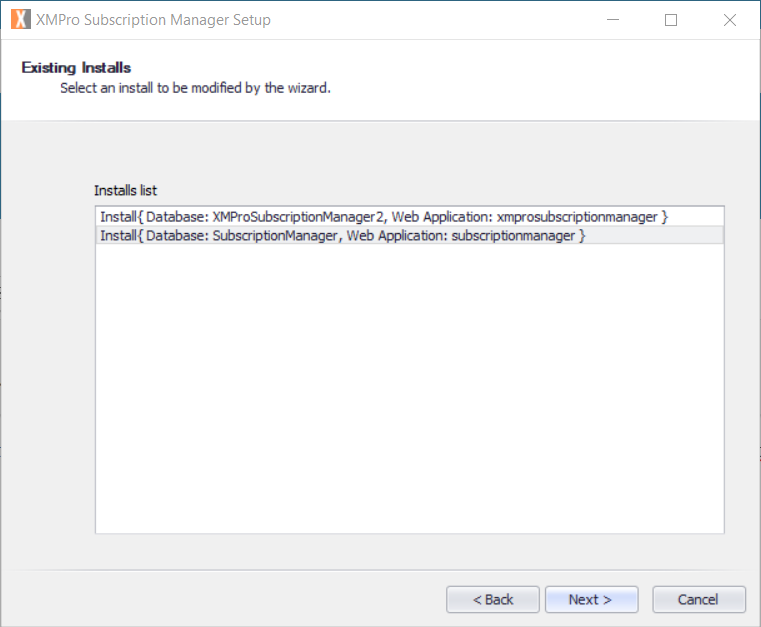
Existing Installs
The screen that becomes visible after selecting the “Upgrade” option will contain a list of instances of Subscription Manager that has been installed. An instance can be either a database, or a Web application, or both. To select an instance that should be upgraded, click on the item in the list and click “Next”.
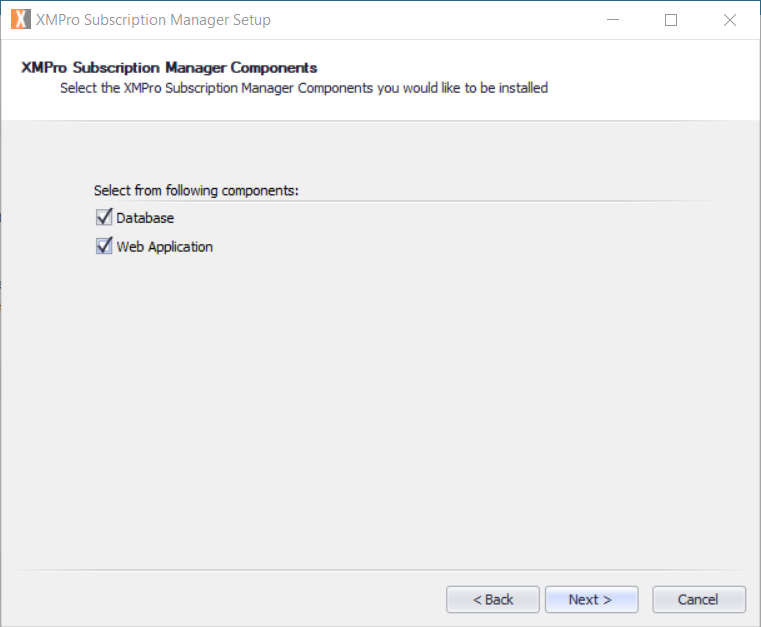
Components Choice
If the instance that you’ve selected on the Existing Installs screen contained both a database and a Web application, you will be given the choice to upgrade either the database or the Web application or both. Choose which components to upgrade by selecting the check box next to each component.
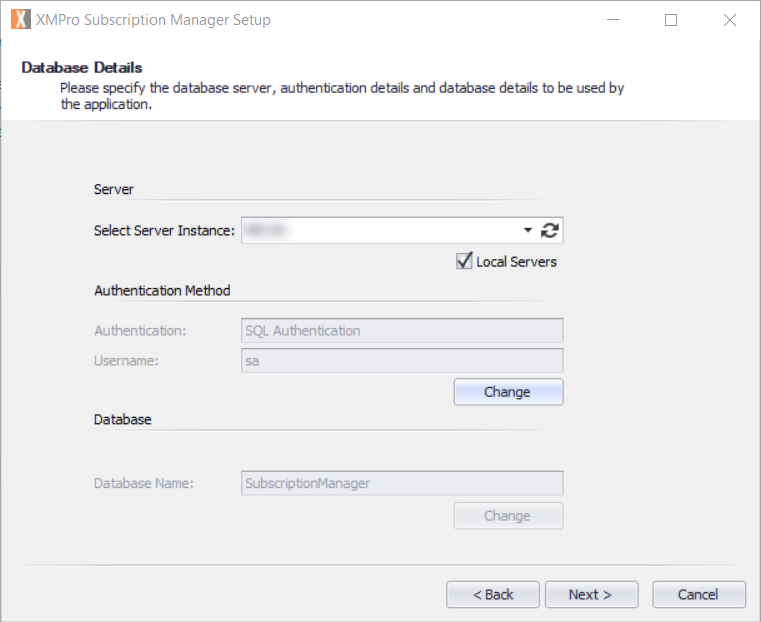
Details: Database
If you’ve decided to upgrade the database of a Subscription Manager instance, you will be asked to provide details that would enable the installer to connect to the database. Either type the name of the server instance where the database is located in the “Select Server Instance” text box or click on the refresh button next to the “Select Server Instance” text box to load the available servers and select a value from the drop down. If you would like to limit the search to servers on the local network, select the “Local Servers” check box before clicking the refresh button.
Next, provide the authentication method details for the SQL Server instance. If SQL Server authentication was selected during the installation process, it will be automatically selected during the upgrade process.
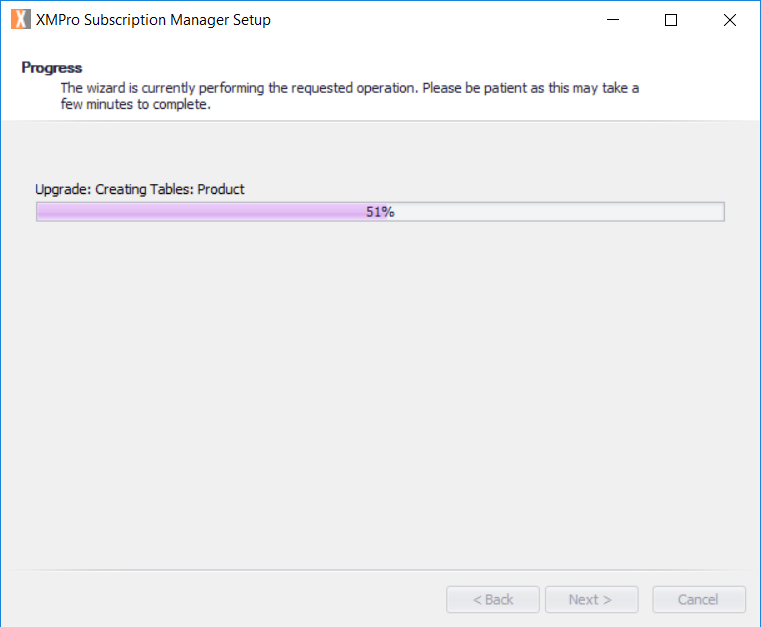
Final Steps
Confirm the operation you’ve selected and let the wizard continue to perform the upgrade.


