Prerequisites and Preparation
Follow the instructions in this article, which is aimed at helping you get ready for installation.
Initial Steps
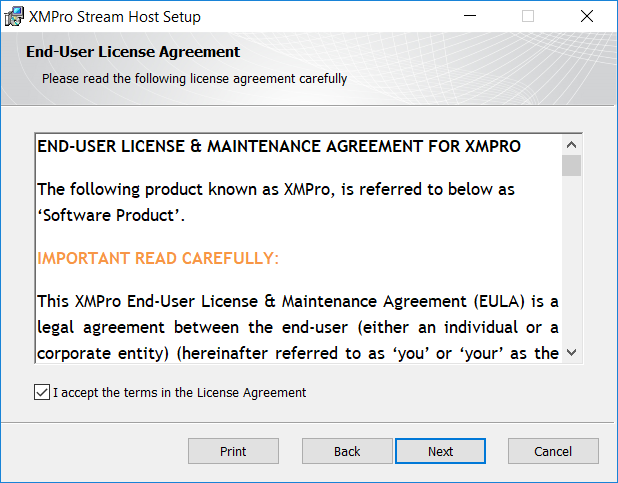
Start by unzipping the installer .zip file that you’ve downloaded during the preparation steps. Next, run the Gateway.Host.Console.Setup.msi file in the resulting folder as administrator. When the installation wizard opens, click Next. Read and accept the license agreement by selecting the check box at the bottom and click Next.

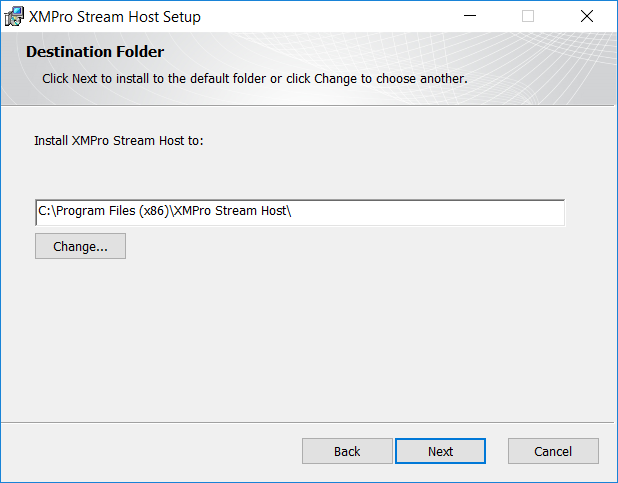
Choose a location where the stream host should be installed by clicking on the Change button and browsing to the directory you would like to use. You may also leave the default option as is. Click Next.
Installation: Host Type Selection
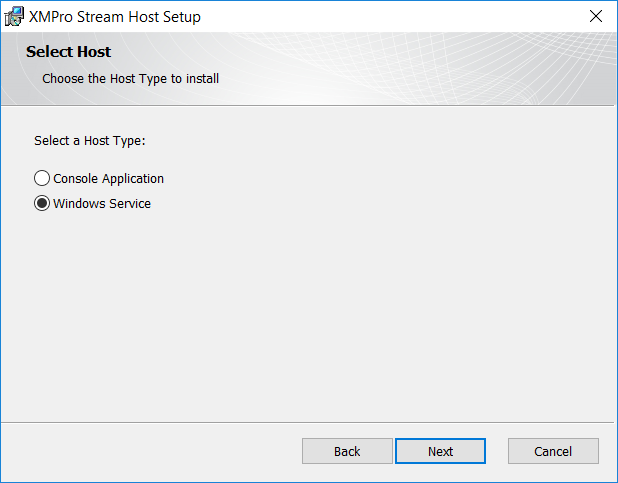
Select the type of host you would like to install and click Next. You can either install the stream host as a Windows Service or as a Console application.
The host type you need to choose will depend on your requirements. If you are installing the stream host for testing purposes, choose Console Application. If you are installing it to use it in a production environment, it is recommended that you choose to install it as a Windows Service.
Please note that a Windows Service will automatically start after installation completes. The Console application; however, needs to be run as administrator from the Start menu.
Installation: Connection Settings Configuration
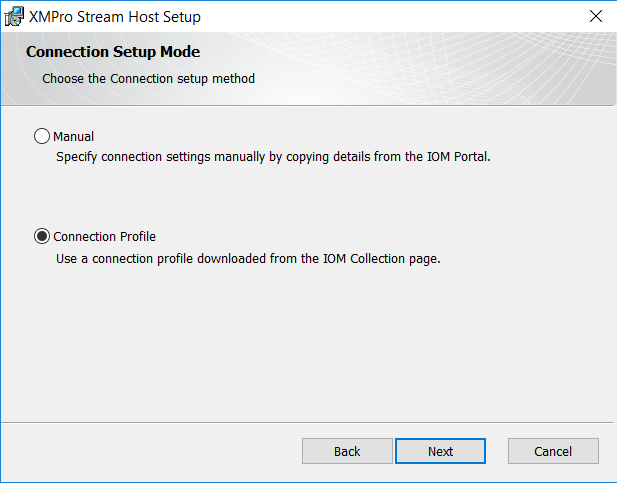
Select your preferred setup mode. If you choose to set up the stream host using a connection profile, choose Connection Profile. Otherwise, select Manual. Click Next.
Uploading a Collection Profile
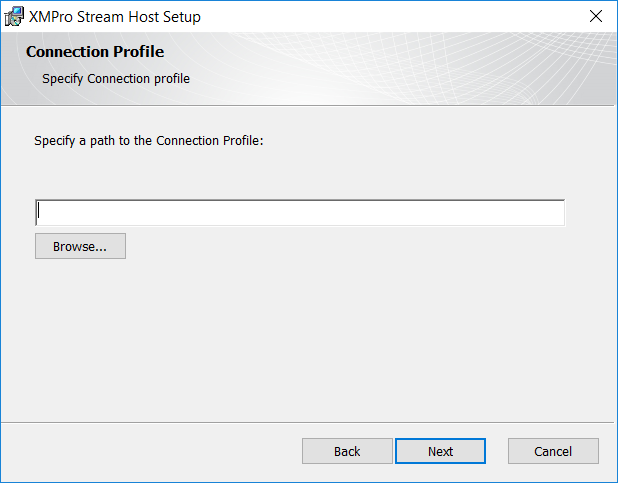
If you selected Connection Profile, upload the connection profile file you’ve downloaded earlier in the guide. Click Next again and let the wizard install the stream host. If you selected Manual, see the section below for instructions on how to set it up.
Manually Providing Connection Settings
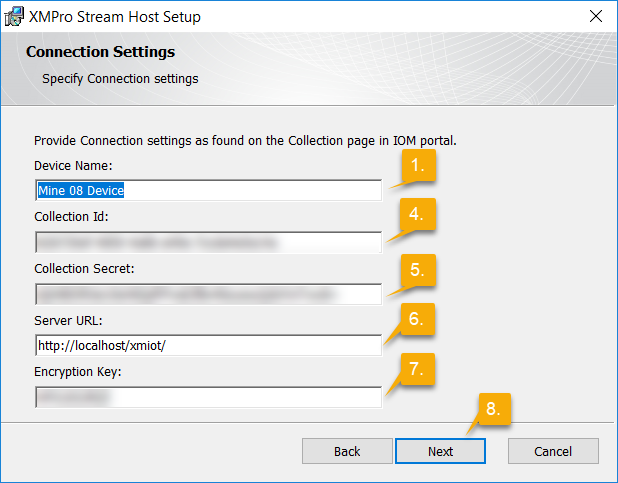
If you decide to manually set up the connection settings for the stream host, you can find the values you need by following the steps below.
- Choose a name for the device.
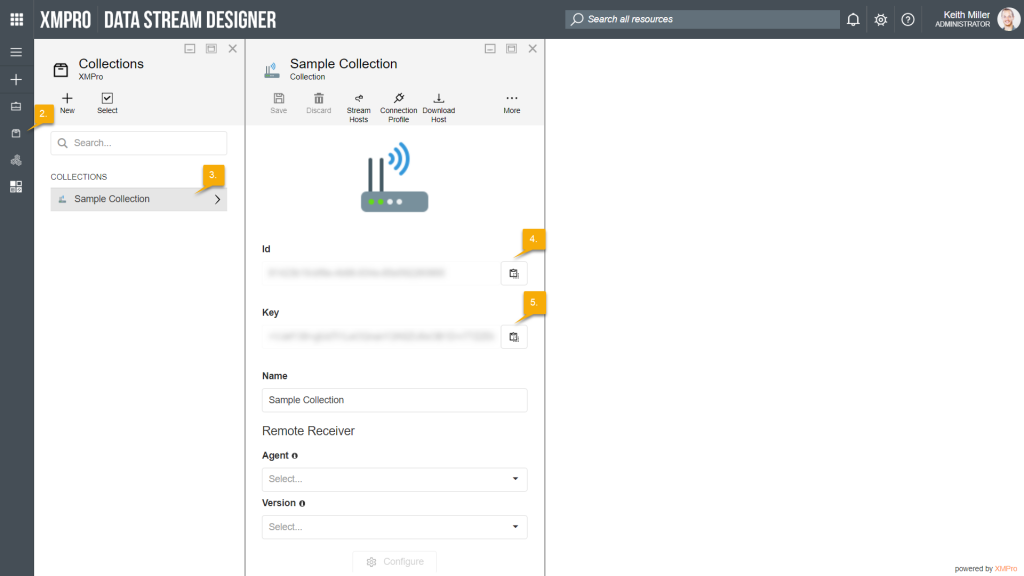
- Log into Data Stream Designer and open the Collections page from the left-hand menu.
- Select the collection you wish to use.
- Copy the ID of the collection from Data Stream Designer to your clipboard by clicking on the copy button and paste it in the Collection Id field in the installer.
- Copy the Key field in Data Stream Designer to your clipboard by clicking on the copy button and paste it in the Collection Secret field in the installer.
- Add the Server URL for Data Stream Designer in the installer, for example “http://localhost/datastreamdesigner/“.
- Add an encryption key that can be used in the Encryption Key field in the installer.
- Click Next and let the wizard install the stream host.
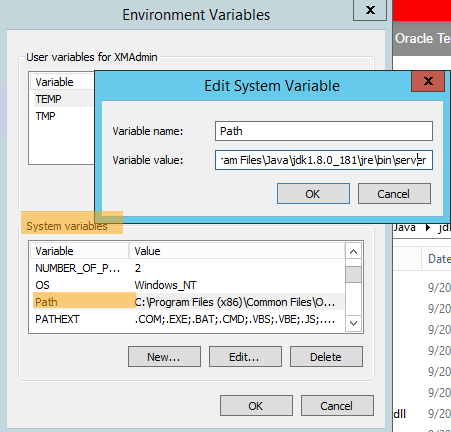
Setting up Environment Variables
To setup JDK, follow the steps provided below:
- Download jdk-8u181-windows-x64.exe from http://www.oracle.com/technetwork/java/javase/downloads/jdk8-downloads-2133151.html
- Run the installer by keeping all options as default
- Add the following paths to the end of System Path variable – please note paths are semi-colon separated:
C:\Program Files\Java\jdk1.8.0_181\jre\bin
C:\Program Files\Java\jdk1.8.0_181\jre\bin\server - Restart your computer
Upgrade
To upgrade an installed stream host, follow the installation steps as outlined above. The process of upgrading an installed stream host is exactly the same as installing a new one. However, make sure that you use the same connection profile as you did during installation.
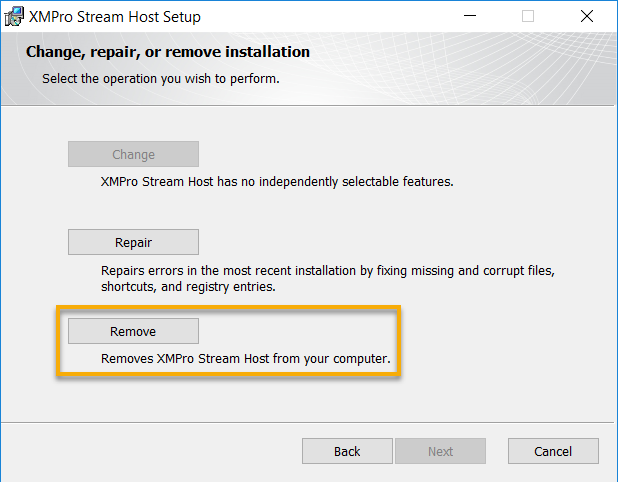
Uninstall
The same application that was used to install the stream host, can be used to uninstall stream hosts. Start by running the application and click Next on the Welcome screen. The application will recognize if a stream host is already installed on a particular machine. On the next screen, click on Remove.
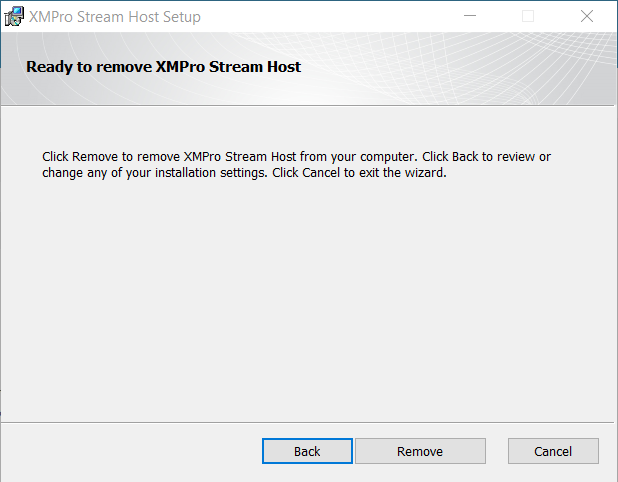
The application will ask you for a confirmation. If you are ready to go ahead, click Remove.
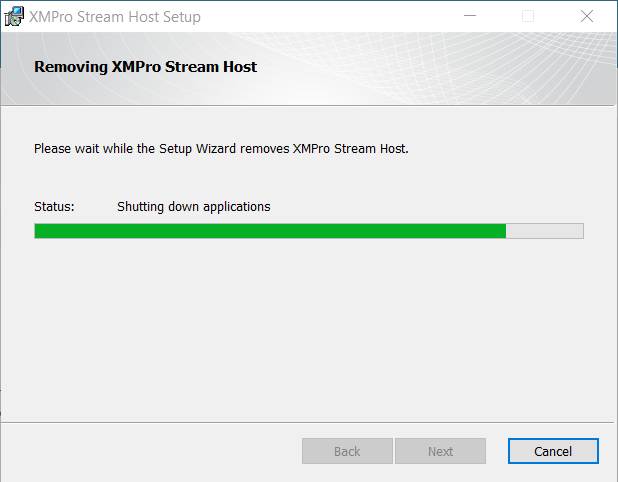
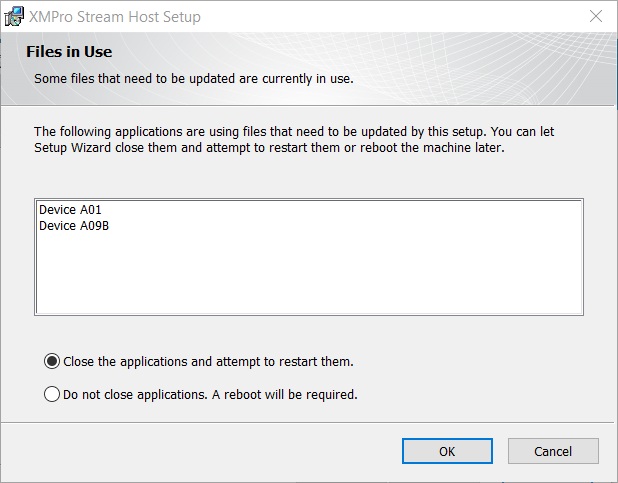
If there is one or more stream hosts installed on your machine and these stream hosts were installed as services and they are still running, the installer will stop uninstalling and ask for permission to close the services that are running. From the options listed, choose the option that fits your situation the best and click OK.
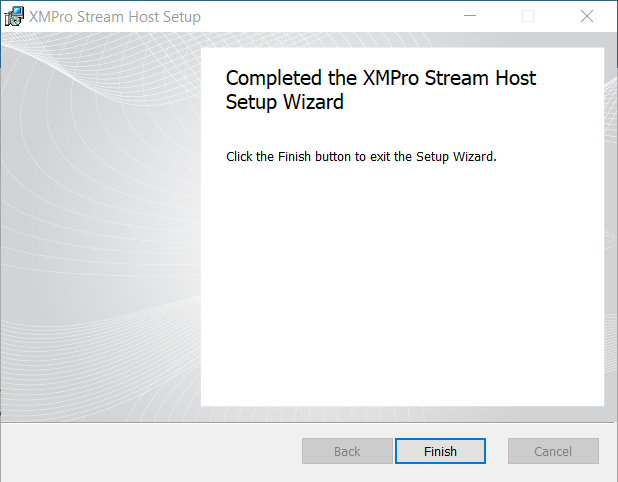
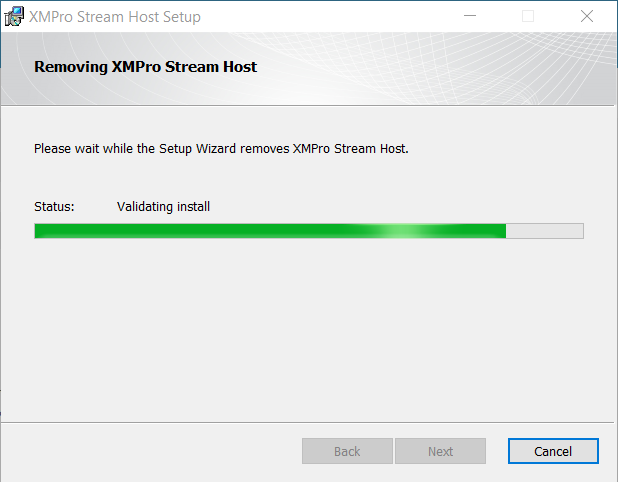
As soon as you click OK, the installer will uninstall the stream hosts on your machine.