After writing a new agent and packaging it, you can upload it to Data Stream Designer by following the steps below:
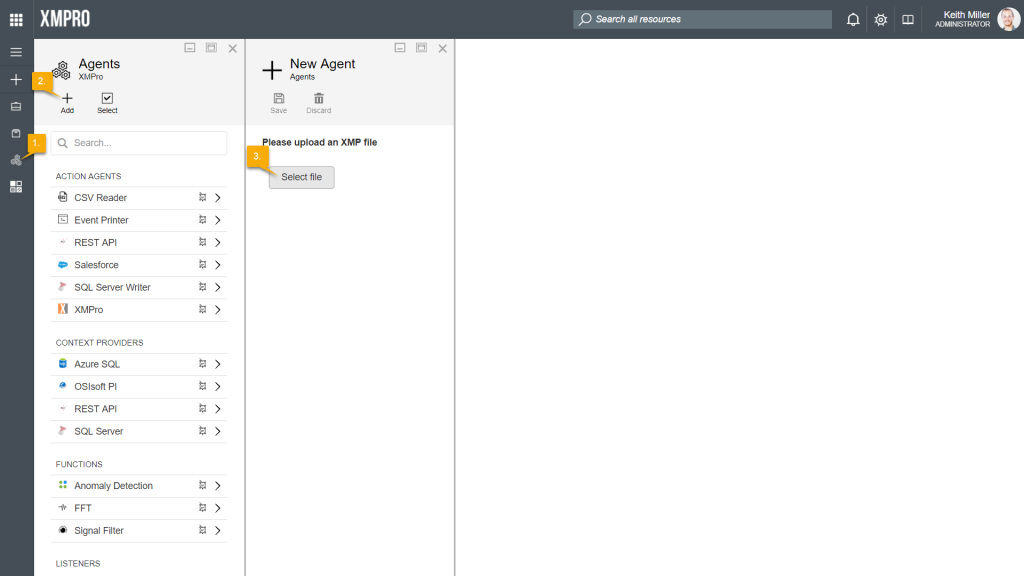
- Open the Agents page from the left-hand menu.
- Click on Add.
- Click on the Select File button and browse to the .xmp file you’ve packaged.
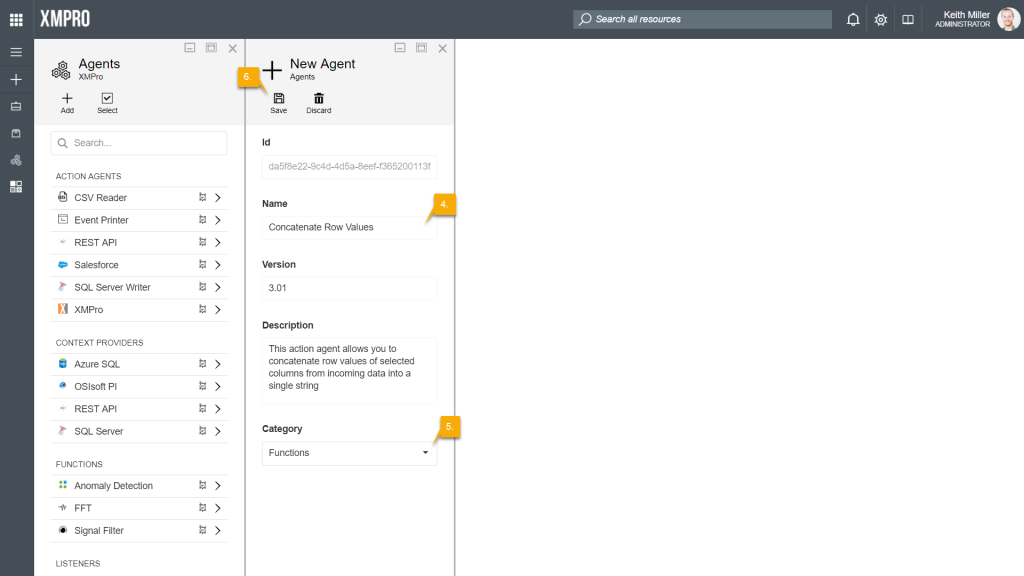
- If the .xmp file is valid, some of the details contained in the file, such as the name of the agent, will automatically be listed on the form.
- Select the correct category in which the agent can be classified
- Available categories include Transformations, Action Agents, Context Providers, Functions, and Listeners.
- Click Save.
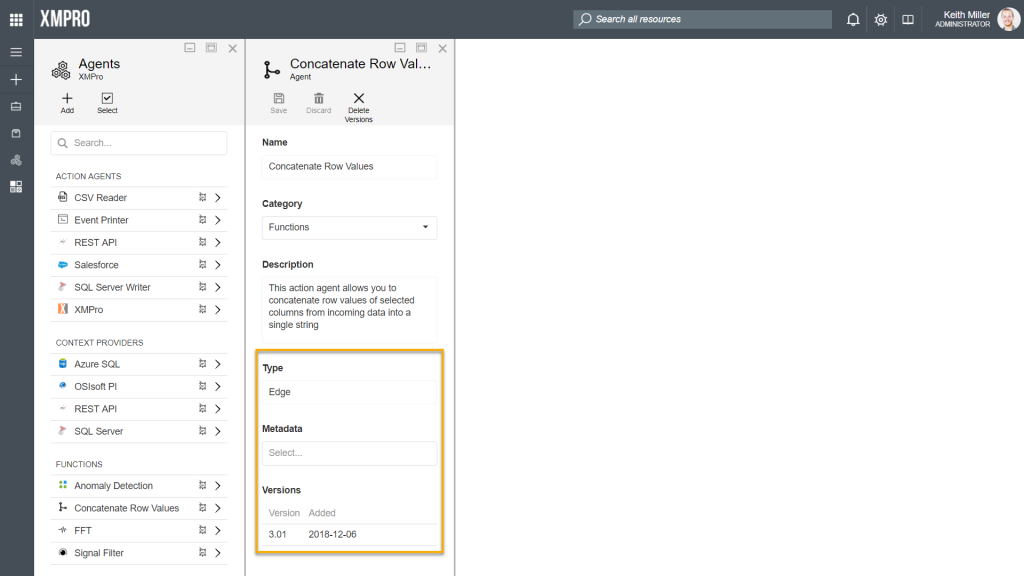
- Additional information that forms part of the agent’s details will be displayed on the form, such as the version and Metadata.
If you would like to upgrade an existing agent, follow the exact steps as above. The new version will be listed in the Versions grid. The newest version will always be chosen when you drag an agent onto the Use Case canvas.
The Metadata field allows you to add tags for the agent. You can either select a value from the drop down that appears when you click in the field or type a new value and press Enter.