Start the installation process by downloading the executable installer file (called XMWeb.exe), which can found here. Read through and accept the Microsoft license agreement when asked. Please note that an installer that would enable you to install the database and Web application will be installed first. When this installation is complete, you will be able to locate the Action Hub installer from your Start menu, which will allow you to install one or more instances of the Action Hub Web application and its database.
The installation process will proceed as follows:
- Install the Action Hub installer
- Install an instance of the Action Hub Web Application and Database
Action Hub Installer
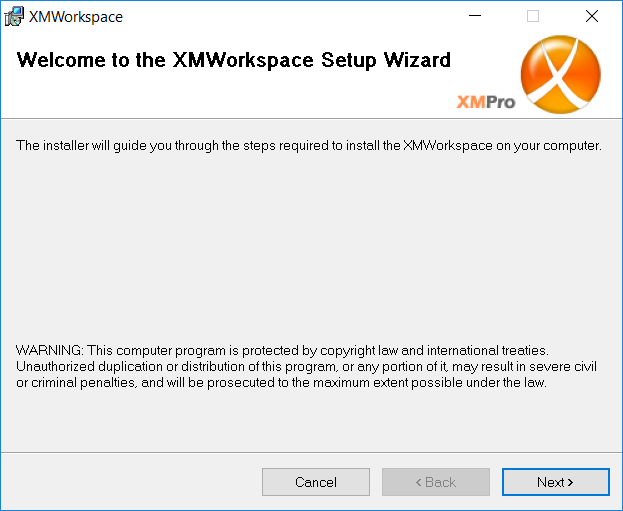
After accepting the Microsoft license agreement, you should see the welcome screen. Click Next.
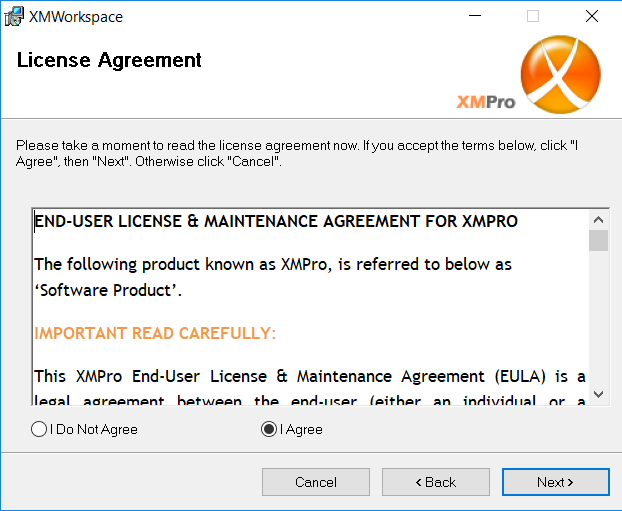
License Agreement
Carefully read through the license agreement and select the I Agree option. Please note that you will not be allowed to continue with the installation unless you agree to this license agreement. If you have any questions or if there is something you don’t understand, don’t hesitate to contact us.
Click Next.
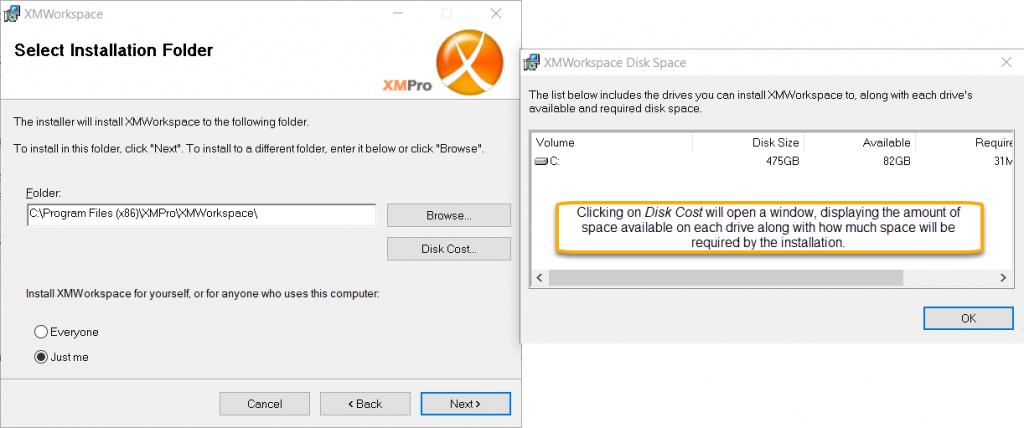
Installation Folder
Select the folder where Action Hub should be installed. If needed, you can click on the Disk Cost button to see how much space is available and how much space you will need for the installation. Lastly, choose who this installation should be available for once complete. Should it be available for everyone that uses the machine you’re installing the software on or just for you?
Confirm Installation
Click Next and confirm the installation. When the installation is complete, click Close.
Web Application and Database Installation
To start the installation process for the Action Hub Web application and database, search for “XMWorkspace Installer” in your start menu.

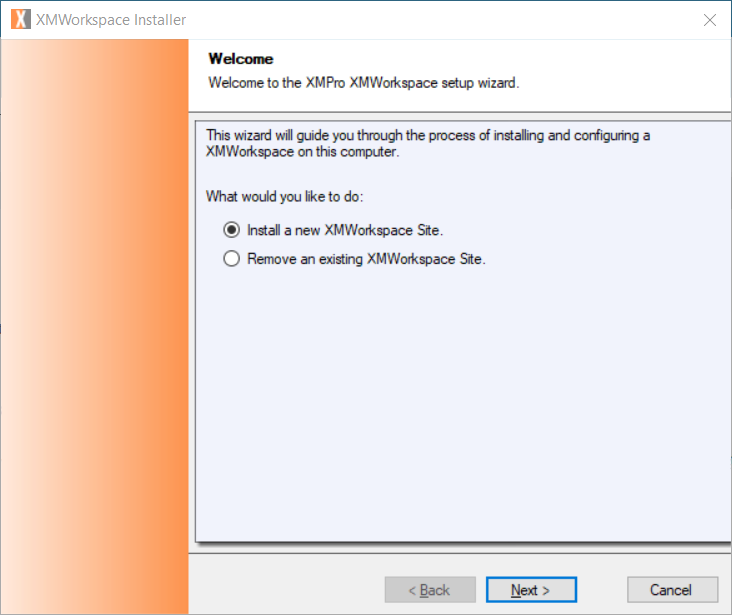
You will be presented with a welcome screen as soon as the installer opens. On this screen of the wizard, choose “Install a new XMWorkspace Site” and click Next.
Installation Details
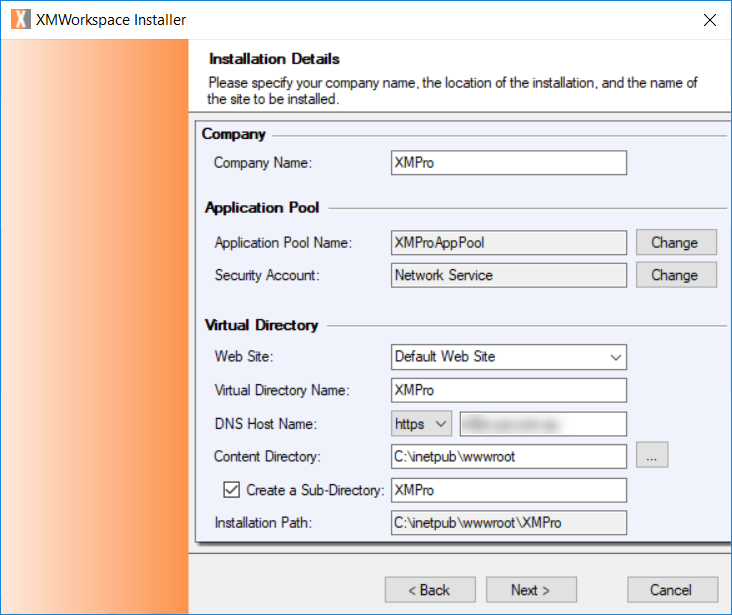
The Installation Details form requires you to check installation details mainly focused on how the Web application will be installed in IIS.
Company
Enter the name of your company in the Company Name field.
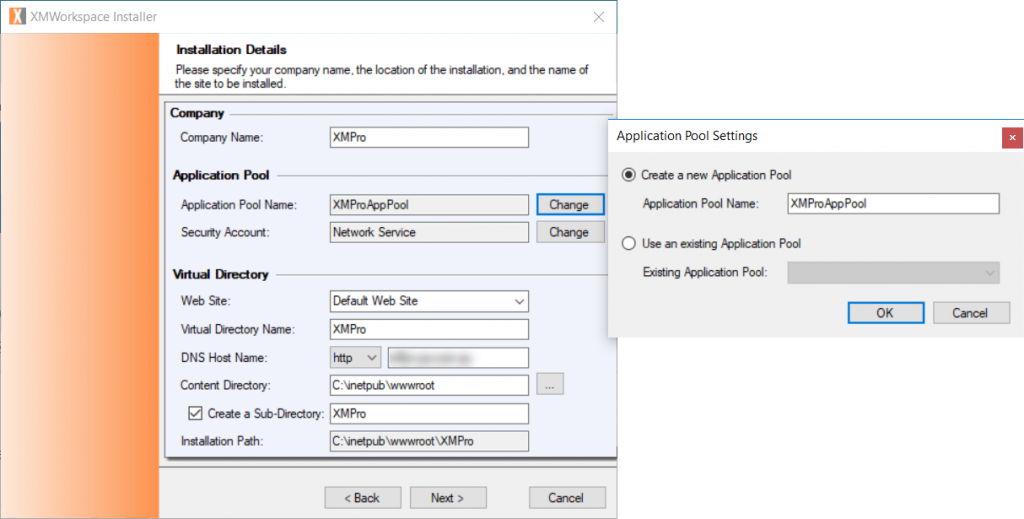
Application Pool
Next to the Application Pool Name field, click on Change. Choose which application pool the application should use. You can either create a new application or select Use an existing Application Pool and select an existing application pool from the drop-down.
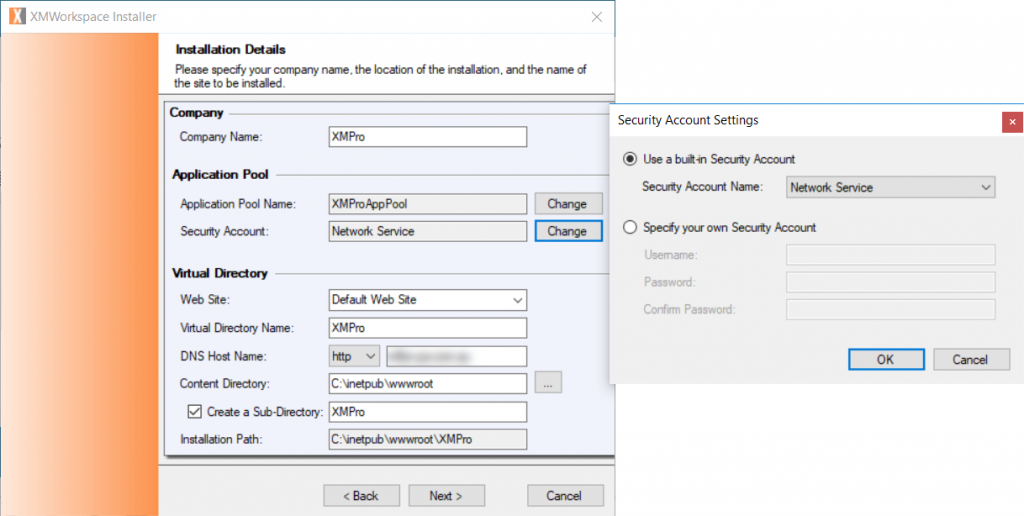
Next to the Security Account field, click on Change. Choose which security account you would like to use. The following options are available:
- Network Service
- Local System
- Local Service
Alternatively, specify your own security account by selecting Specify your own Security Account and filling in your username and password.
Virtual Directory
In the Virtual Directory section, verify that all the values are correct for each of the fields using the table below.
| Property | Description |
| Web Site | The Web site referred to here is the site you would like to use in IIS, for example Default Web Site (automatically selected in the screenshot below this table; this is the first Web site generally created for standard Windows machines on which IIS is available). |
| Virtual Directory Name | This is the name of the directory in IIS of the Web application that is being installed. |
| DNS Host Name | The DNS host name is the name of the host on which the Web application is being installed. The Web application will normally be installed to run under HTTP. If you would like to change this, select HTTPS from the drop-down next to the DNS Host Name label. |
| Content Directory | The content directory is the directory in which the content of the Web application will be stored. Click on the ellipse button next to the field to change the directory. |
| Create a Sub-Directory | Checking this box will cause the installer to create a sub-directory within the content directory. |
| Installation Path | The installation path is the full path of where the Web application will be created. This path is the content directory and the sub-directory combined. |
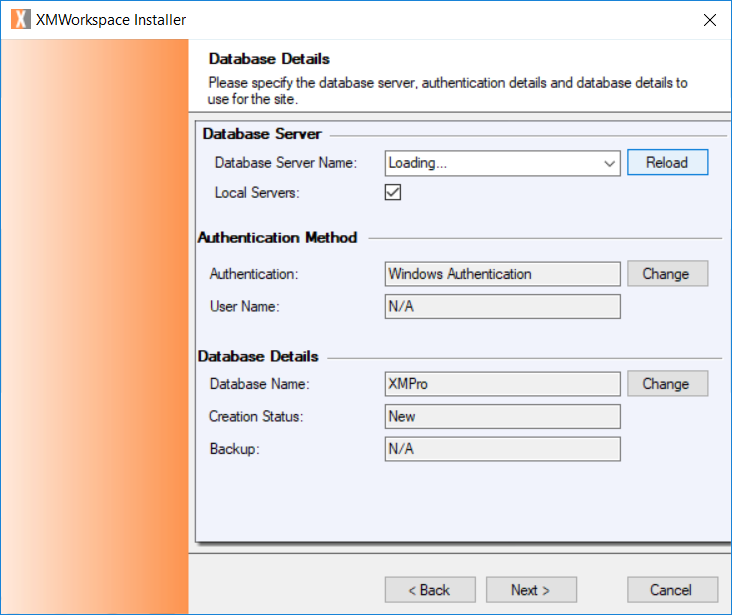
Database Details
The Database Details form mainly focuses on capturing the details required to be able to connect to an existing SQL Server Action Hub database or create a new one that can be used for the Web application that is to be installed.
Database Server
In the Database Server Name field, fill in the name of the server on which either an existing Action Hub that can be used can be found or where a new Action Hub database can be created. Clicking on Reload will load all available servers, enabling you to choose a server from the drop-down.
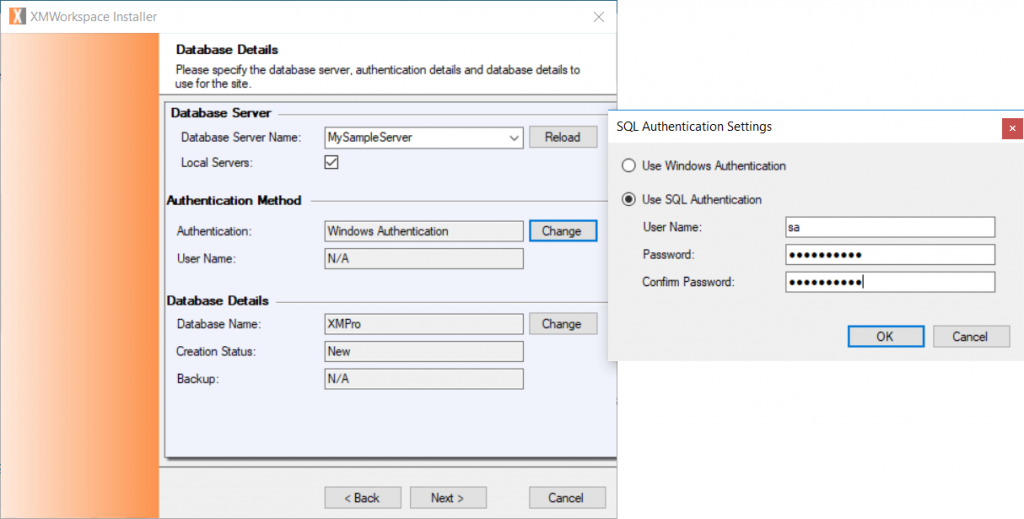
Authentication Method
Either Windows or SQL Authentication can be used to connect to an Action Hub database. Windows Authentication will, by default, be selected. To change the authentication method, click on Change. Next, fill in your SQL username and password and click OK.
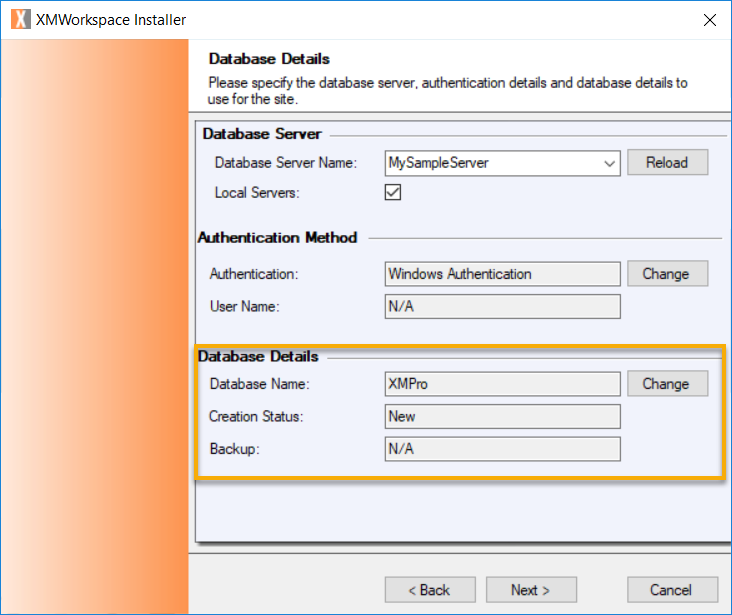
Database Details
The default values filled in in this section will cause the installer to attempt to create a new database on the selected server. If you would like to use an existing database, click on Change. Next, click on Connect to an existing database and choose the name of the database to which you would like to connect from the drop-down. If you would like to make a back-up of your database in case something happens or if you think you might need it later, select Backup my existing database and specify the Backup path.

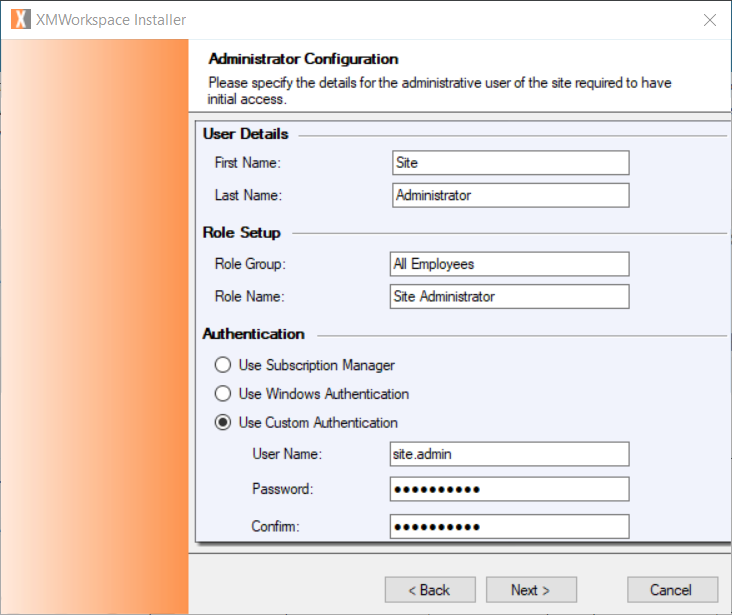
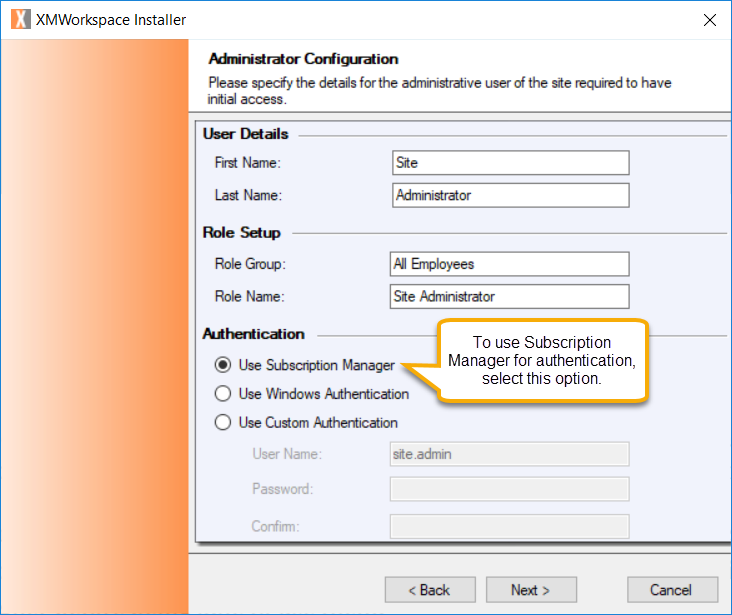
Administrator Configuration
On the Administrator Configuration form you are required to provide details for an administrative user. Fill in your first and last name and specify the name and group of the first role. Next, note that three authentication options are presented to you as a way of logging into the Web application:
- Subscription Manager
- This will allow you to use single-sign on capability between Action Hub and Subscription Manager, meaning, you can use the same credentials for both applications and if you are signed into the one application, you will automatically be signed into the second.
- Windows Authentication
- This will allow you to use Windows Authentication for authentication.
- Custom Authentication
- Choose your own username and password here. Use this username and password to log into Action Hub once it is successfully installed.
Subscription Manager Authentication
If you have selected to use Subscription Manager authentication, you will be presented with a screen that asks you to upload an installation profile on the next screen. Instructions on where to find an installation profile for Subscription Manager, can be found here. Upload the Installation profile to the installer.
Next, select the “Create a subscription by default?” box. Selecting this option will allow the installer to create entries for the instances of Action Hub and Process Designer you are installing and add them to the list of products you have subscription access for. Administrative access will be granted to you for both products. It is possible for an XMPro administrator to grant access to you manually for these two products, but it is recommended to select this option.
You will be asked to log into your Subscription Manger account as soon as you click Next. Administrative access will be granted to the owner of the login details you use here.

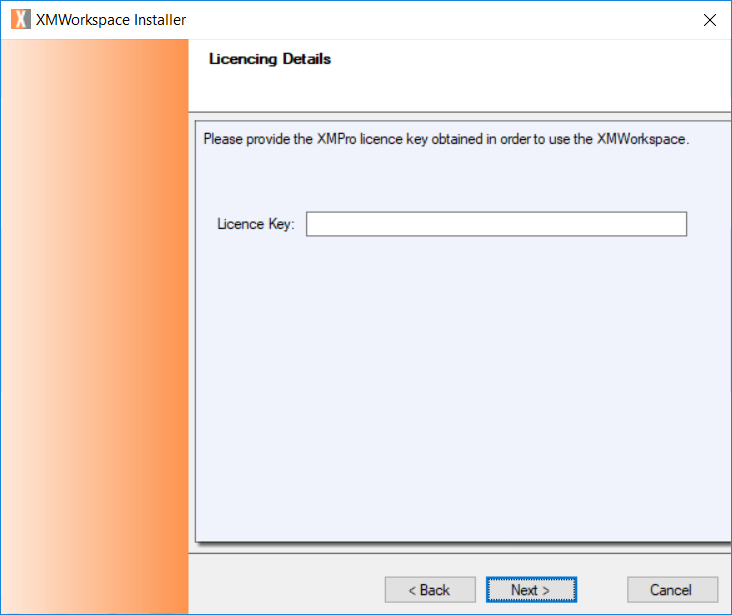
Licensing Details
Fill in your licensing details. Click Next.
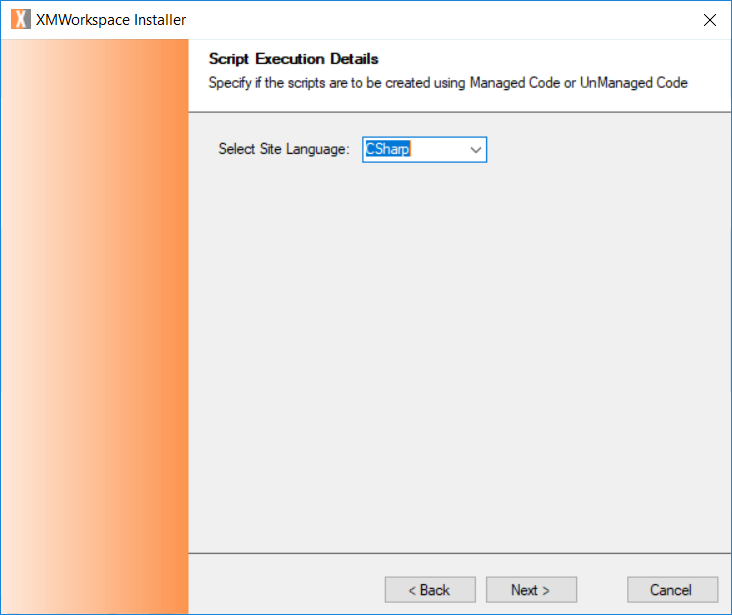
Script Execution Details
Specify which language should be used in the site. Two options are available:
- CSharp
- VBNet
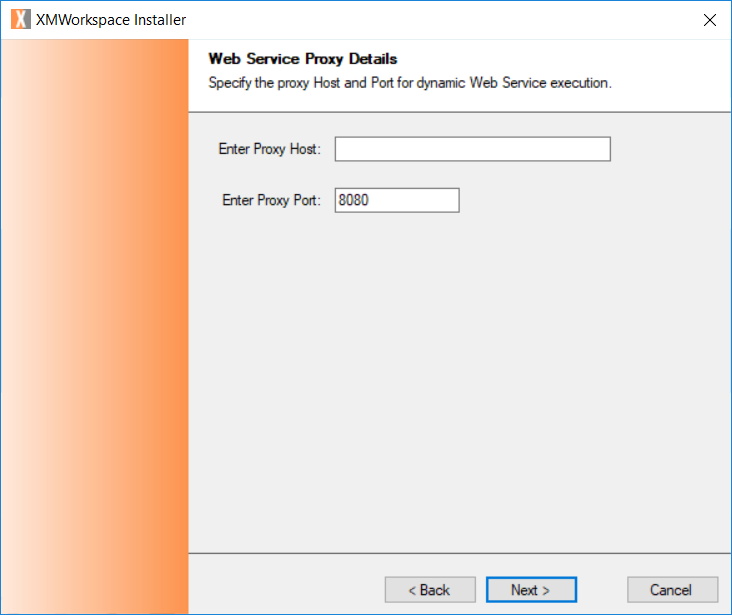
Web Service Proxy Details
Enter your Web service proxy details. Click Next.
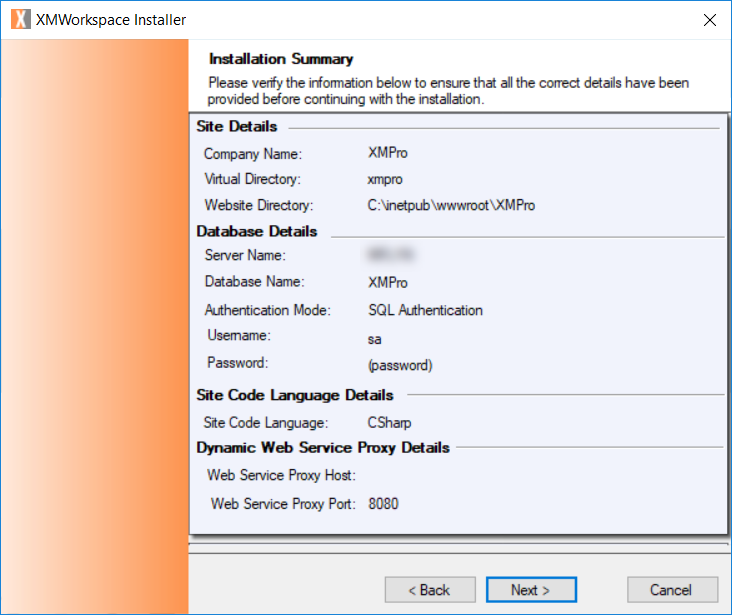
Installation Summary
Lastly, verify that all the details that you have specified are correct. If you’re satisfied, click Next.
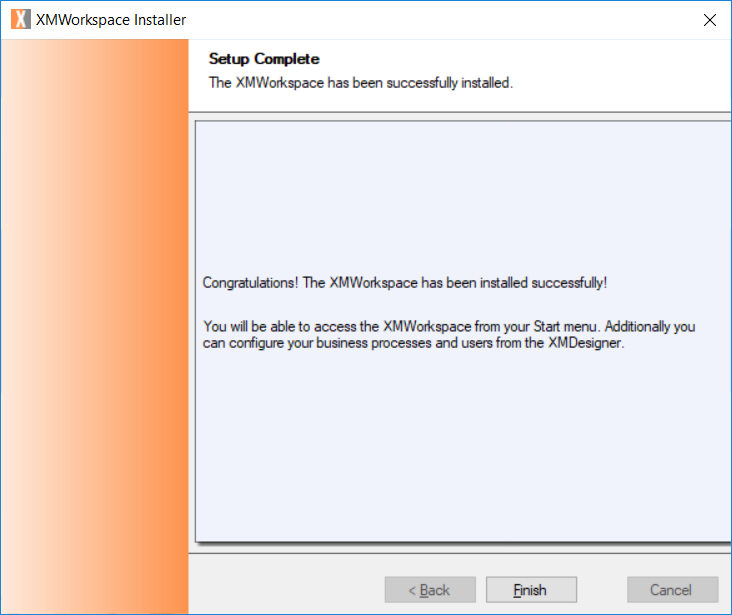
Setup Complete
Once the installation is complete, you will be notified. You will be able to access the Action Hub site by opening it from IIS or adding the URL into your browser. What the URL is will depend on the site details you’ve specified, for example, if the site was installed using HTTPS, the DNS host name was “mysampleserver.com” and the virtual directory name was “actionhub“, the URL will be “https://mysampleserver.com/actionhub/“.