Skip to main content
How Can We Help?
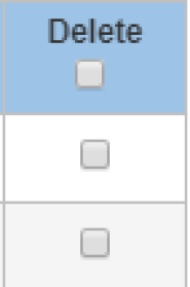
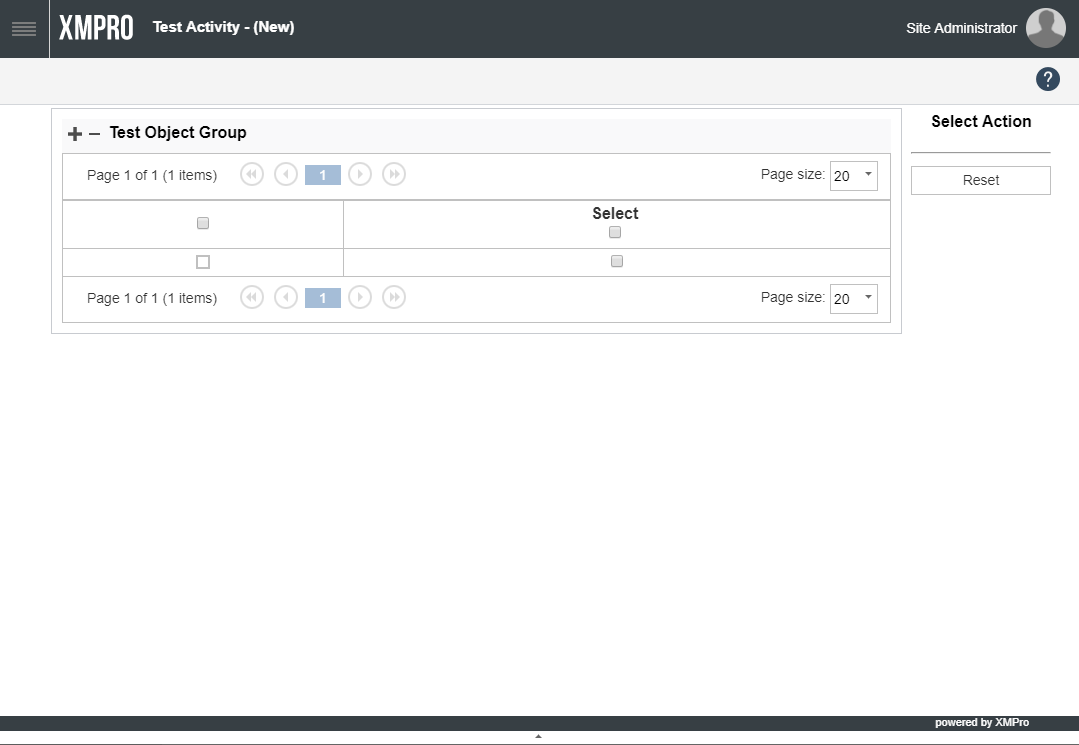
Scenario
There are instances when a select/un-select all needs to be added to a checkbox column in a grid on a form.
Solution
The above can be achieved by adding HTML code in the control caption.
Default HTML code caption:
{Column Caption}<br/><input id='{Unique ID of select all checkbox}' type='checkbox' onclick="$('input#{Control Name}').
each(function(){$(this).prop('checked',$('input#{Unique ID of select all checkbox}').prop('checked'));})" />
Sample HTML code in Control Caption:
Delete<br/><input id='deleteall' type='checkbox'onclick="$('input#PC30200Delete').
each(function(){$(this).prop('checked',$('input#deleteall').prop('checked'));})"/>
Please note that this method only works from XMPro 6.5 onwards
Please find below example for guidance:
- Log on to XMDesignerIs used to configure XMPro BPM solutions. with Administrative rights account.
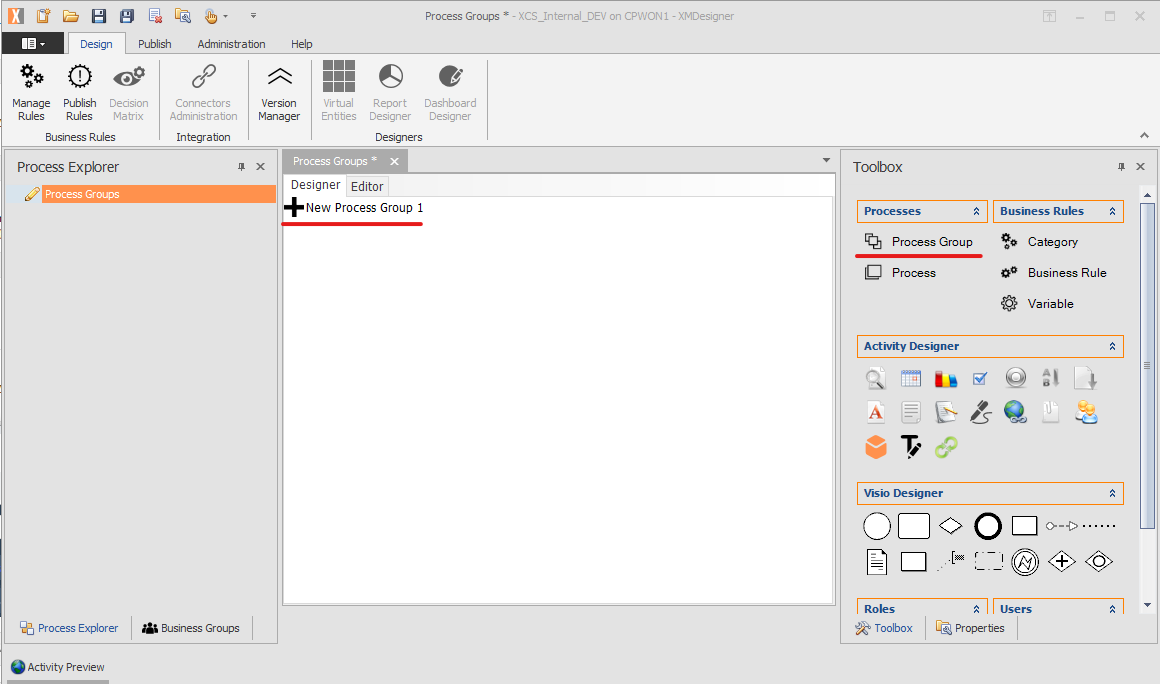
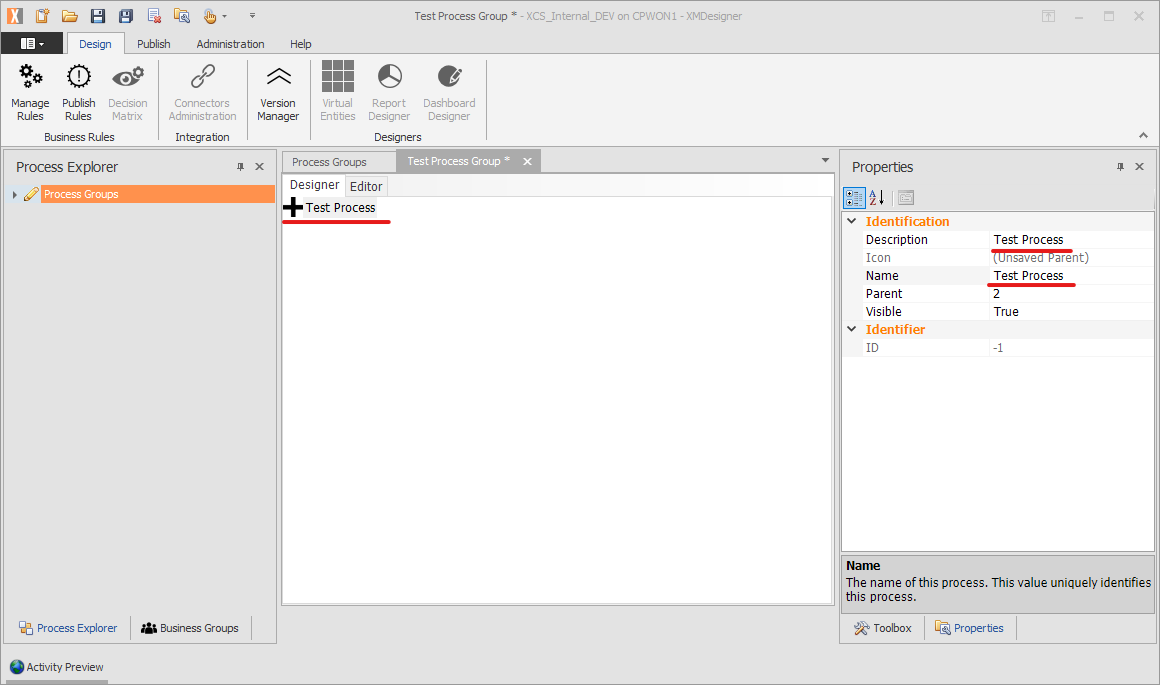
- Double click on Process Group from Process Explorer
- Create a Process Group by dragging an activityA specific step in a process. It will be the user interface for that step (web form or a screen), for example, the Leave Application (screen interface or web form) will be the first Activity in the Leave Requisition process. The Leave Application Authorization will be the second step or Activity in the Leave Requisition process. One Process can have multiple activities. icon from Toolbox to the middle panel.
- Modify the Process Group name and description from the Properties panel.
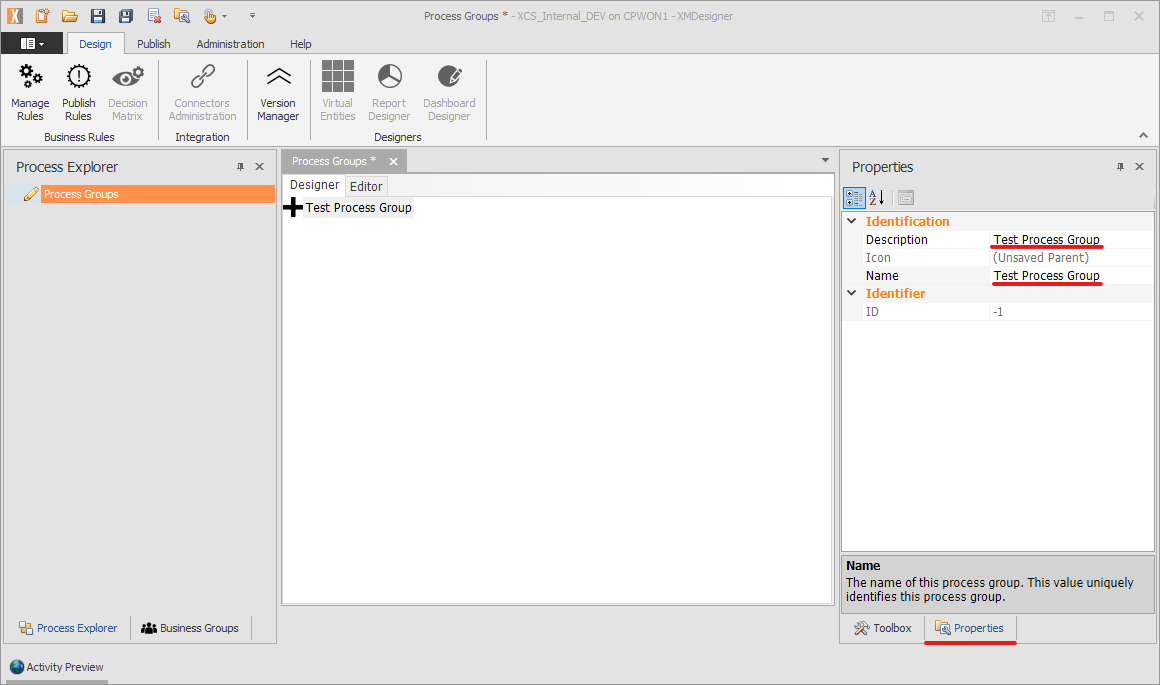
- Press Ctrl + S on the keyboard to save the changes then double click on the newly created process group.
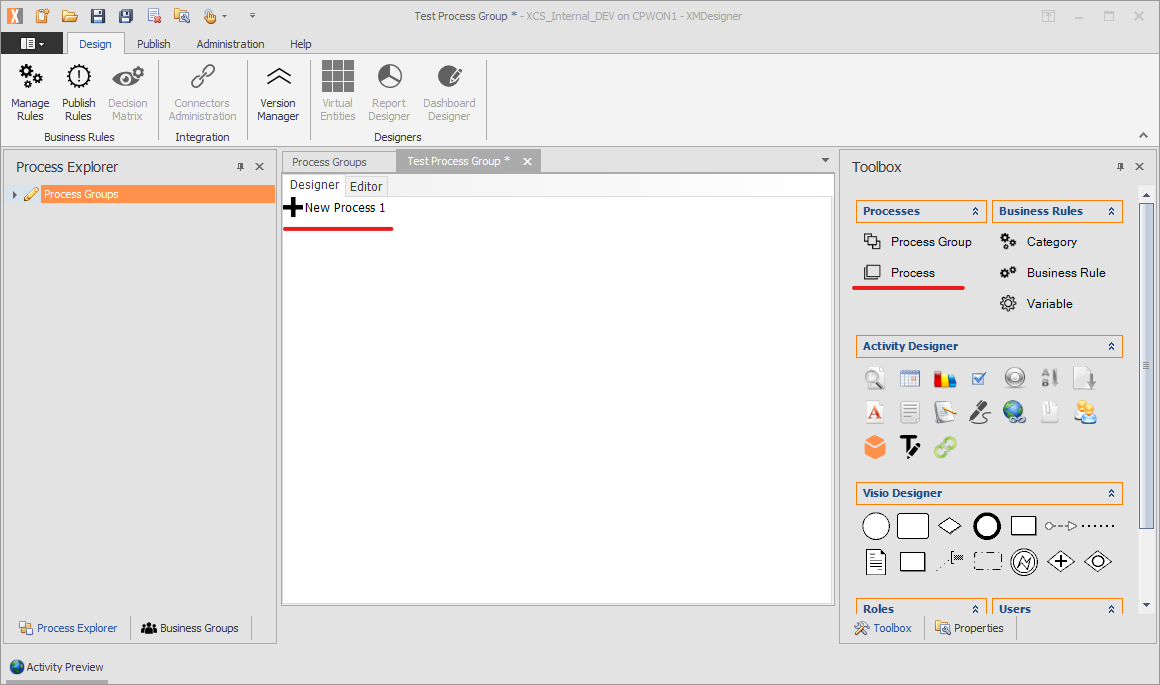
- Modify the Process name and description from the Properties panel.
- Press Ctrl + S on the keyboard to save the changes then double click on the newly created process
- Create an Activity by dragging an activity icon from Toolbox to the middle panel
- Modify the Name and the static Activity Description of the activity from the Activity Configuration Wizard.
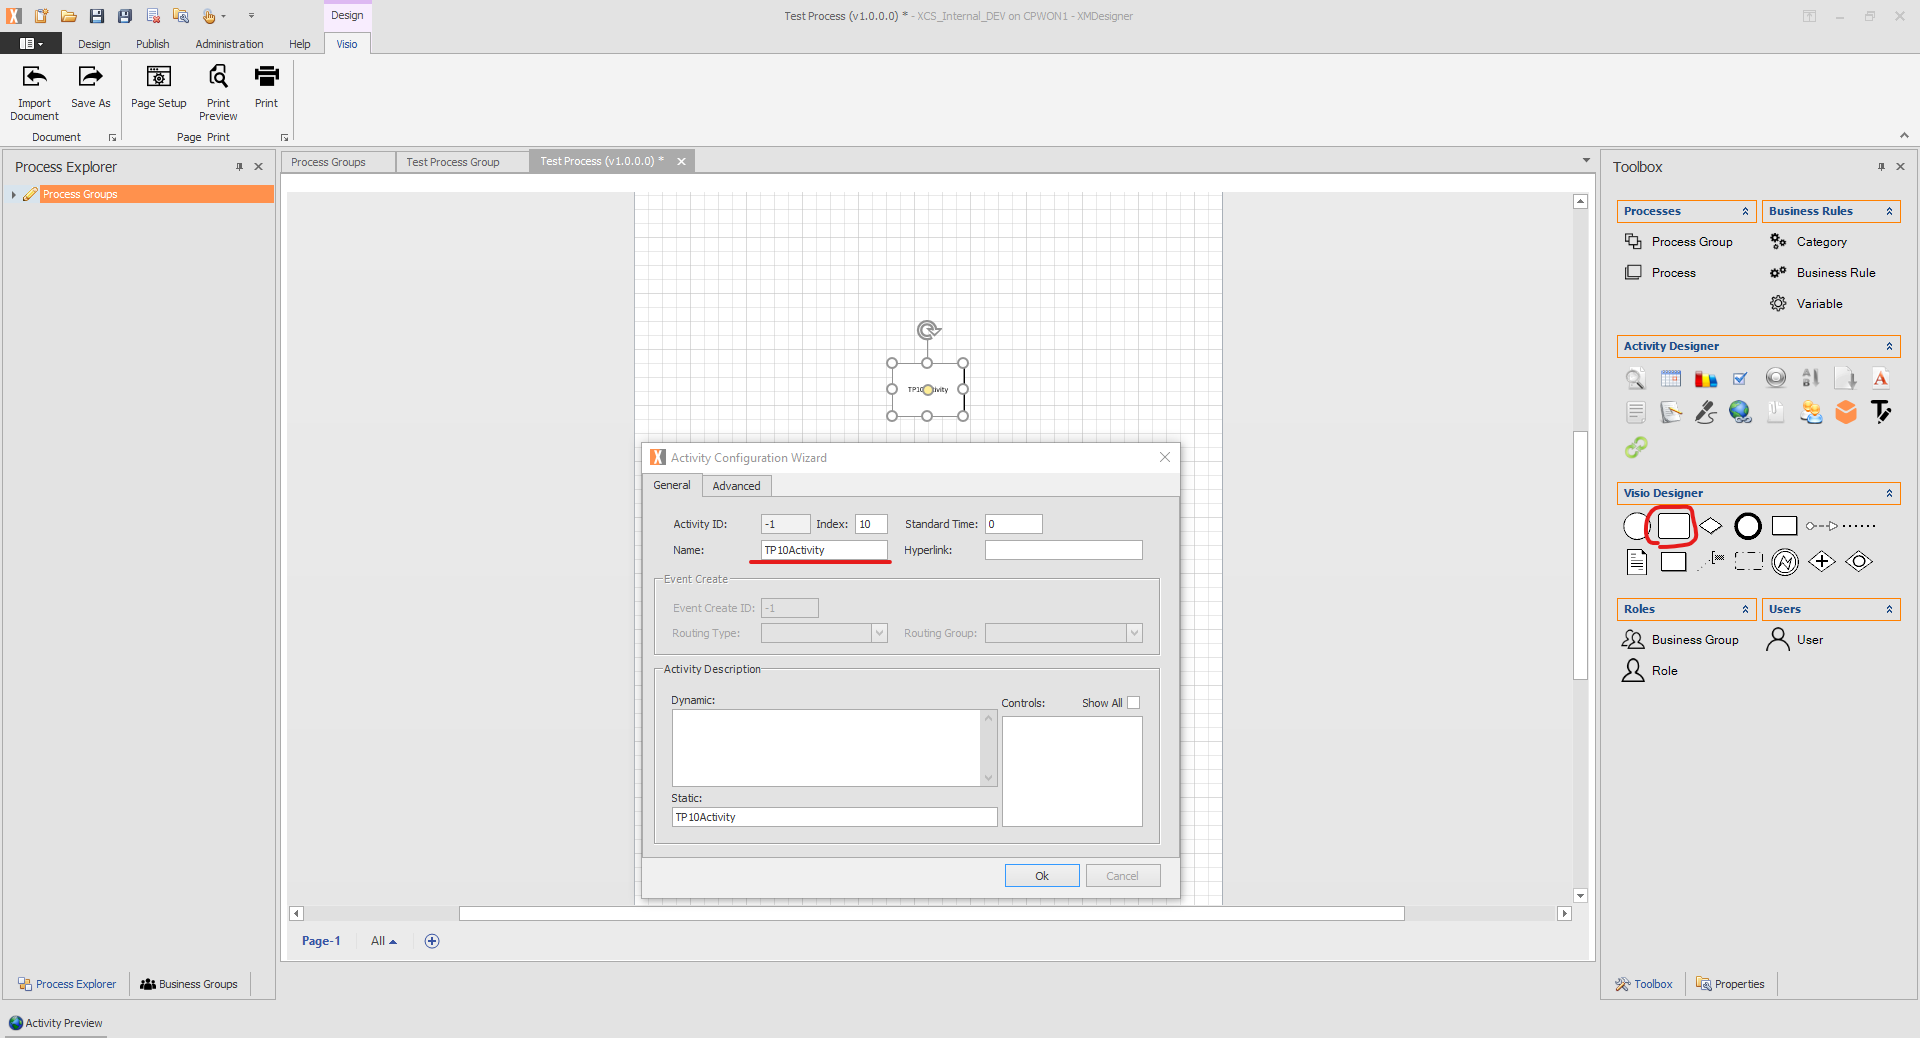
- Press Ctrl + S on the keyboard to Save the changes.
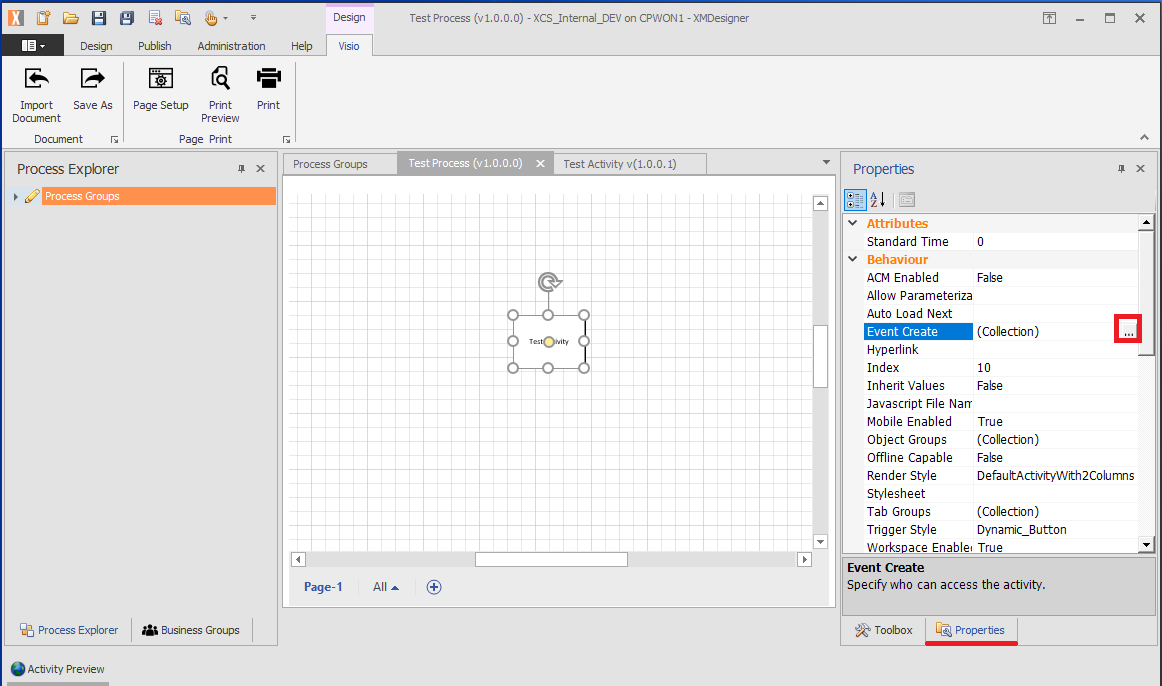
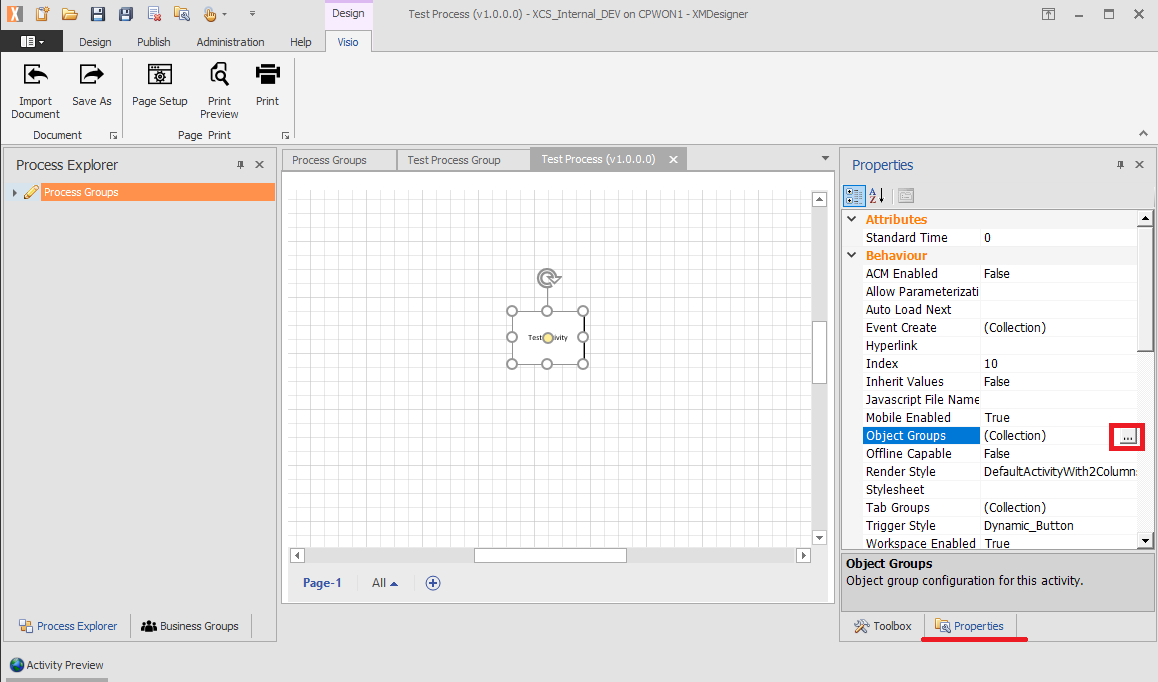
- Click on the newly created Activity and go to the Properties panel.
- Click on the ellipsis button next to the Event Create option.
- Change the Creation Type to “First Activity” and Creation Value to “All Employees”.
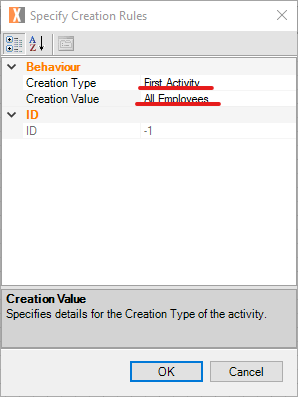
- Press Ctrl + S on the keyboard to save the changes.
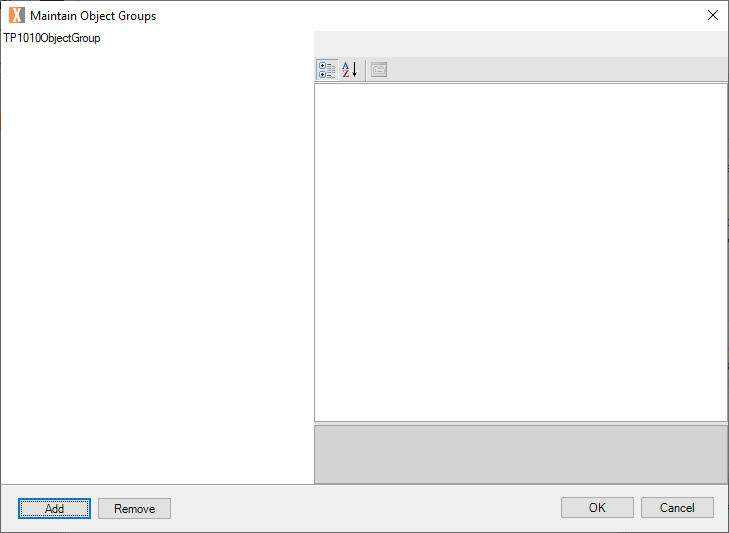
- Click on the ellipsis button next to the Object Group option.
- Click on the “Add” button in Maintain Object Groups window, to create a new object group.
- Click on the newly created Object Group and modify the name and Description
- Change the Grid option to “True”.
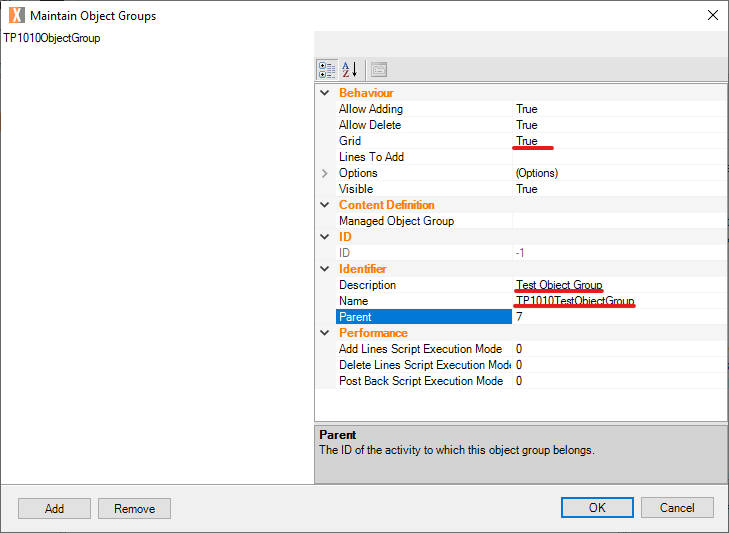
- Click OK to save the changes.
- Double click on the Activity to open Activity Designer.
- Drag and Drop a new checkbox control from the Toolbox panel to Activity Designer.
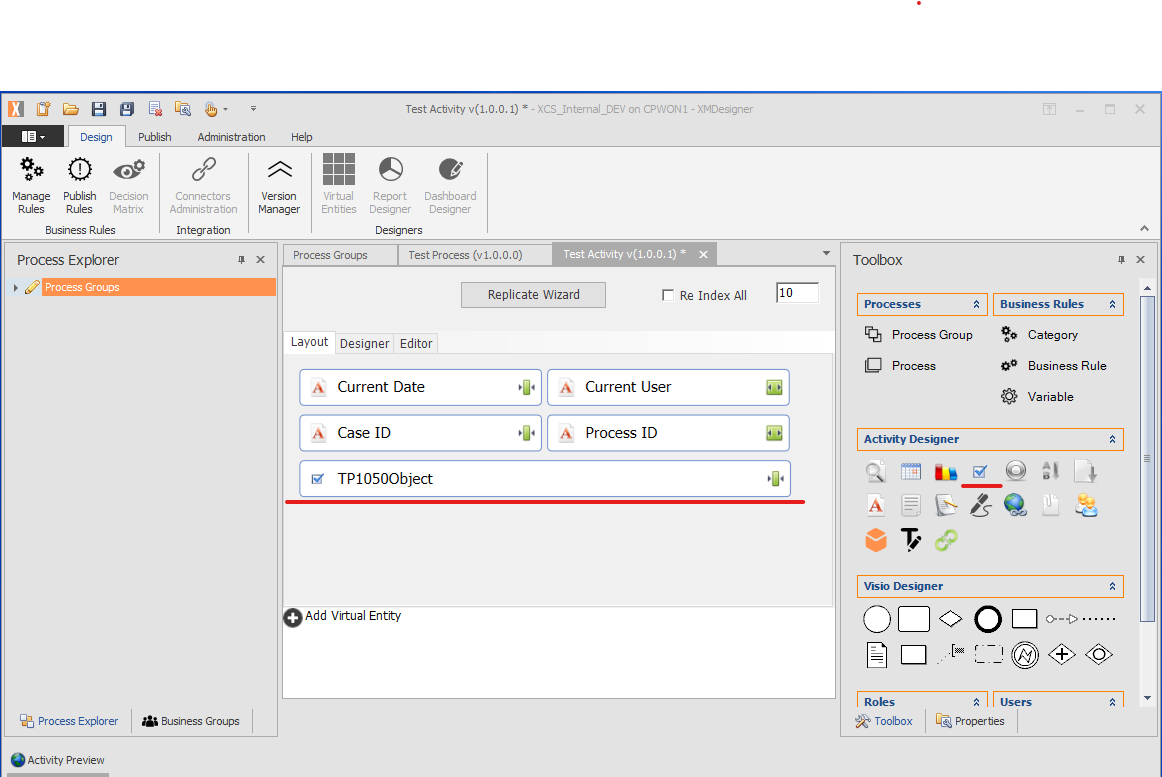
- Modify name and caption to the below format from Object Configuration Wizard.
Name: TP1050Select Caption: Select <br/> <input id='cbxSelect' type='checkbox' onclick="$('input[id*=TP1050Select]').each(function(){$(this).prop('checked',$('input#cbxSelect').prop('checked'));})" /> - Select the Object Group created earlier.
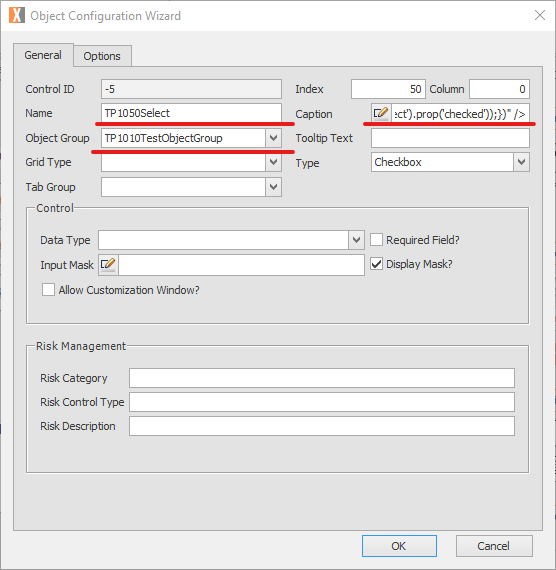
- Click “OK” to confirm the changes.
- Press Ctrl + S on the keyboard to Save the changes.
Comments are closed.