Skip to main content
How Can We Help?
This article describes the steps to take when upgrading XMPro Action Hub website to v6.6 or higher. The steps apply whether one is applying a service release of the same version or upgrading to a new version.
- Download the version of XMSite Manager from the XMPro website.
- Identify ALL the changes made to the XMPro site since the last install or upgrade. The list shown below shows the items that are usually modified/replaced during an upgrade.
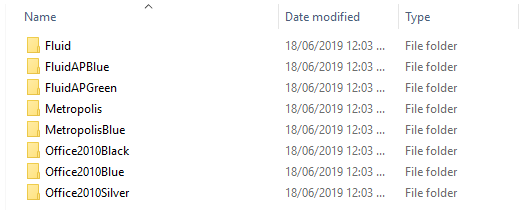
- App_Themes folder and its content will be completely replaced. The folders and content of a custom theme will be removed. Any theme changes in the default themes XMPro themes shown below will be lost. Note that Fluid was only added in version 6.6.
- Scripts folder content will be changed or replaced. The file that is usually modified during an upgrade the xmpro.js file. The javascript files and folders that might change are shown below:
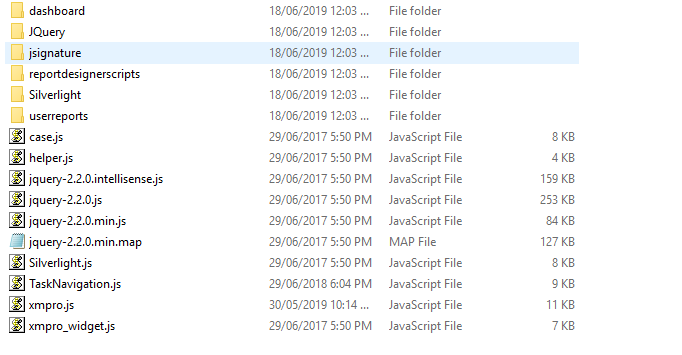 JavaScript files in the scripts/custom folder will not be changed.
 - Skins: content of ‘fluid’ (6.6) and ‘default’ folders will be replaced.
- Any changes made to styles.css in these folders will be lost.
- Custom skins and placed in its own folder will not be not changed.
- Images in the skins/<default or fluid>images folder will be replaced. Of importance are the following images:
- logo.png – will be replaced with the default XMPro logo. This is used on the header of the site.
- login_logo.png – version 6.6 or higher. This is used on the login page (default.aspx) in the Action Hub
- CSS files in ‘fluid’ and ‘default’ folders will be replaced. Changes made in the ‘fluid’ or ‘default’ skins will need to be reapplied after the upgrade. The file that is usually modified during an upgrade is the styles.css file.
- Images – from version 6.5 onwards images used by XMPro themes have moved to the skins/default (v6.5 and v6.6) and skins/fluid (v6.6) folders.
- site.config – XMPro specific keys can get modified, added or removed. Any application specific settings will remain.
- web.config – this will be replaced completely. Any settings changed, e.g. Culture or new sections must be reapplied after the upgrade.
- Integration DLL’s and their dependant libraries in the ‘bin’ folder might be replaced or removed. The site migrator will:
- Replace all XMPro dll’s with new versions. Any custom integration dll’s that starts with XM or XMPro will be removed.
- ActivityTransformations.dll, ActivityTransformations.script1.dll and ActivityTransformations.script2.dll will be replaced. This is important just in case these dll’s were replaced with recompiled versions with changes specific to the application.
- ActivityDisplay.xsl, history.activity.xsl and ObjectTemplates.xsl in the root of the Transform folder will be replaced.
- App_Themes folder and its content will be completely replaced. The folders and content of a custom theme will be removed. Any theme changes in the default themes XMPro themes shown below will be lost. Note that Fluid was only added in version 6.6.
- If any of the integration DLL’s references XMPro dll’s, e.g. XMPro.Server, and if the site upgrade is a major upgrade, e.g. 6.1.0 to 6.6.0 then those dll’s will need to be recompiled using the new XMPro dll’s.
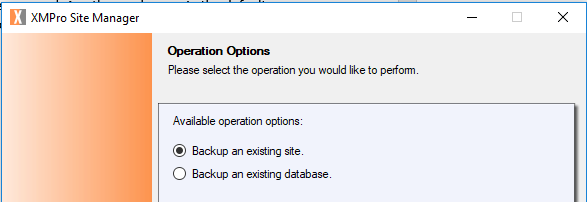
- Create a backup of the website. The XMSite Manager application can be used for this
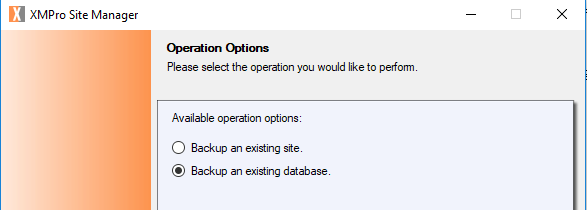
- Create a backup of the XMPro database. The XMSite Manager application can be used for this.
- Create a staging/test website and database using the backups created above.
- Upgrade the staging website and database. The order of operation is not important.

- Create a post-deployment package by using the changes identified in step 1 above as the starting point. Apply the changes to the staging website and database and verify. Make refinements to your post-deployment package where needed.
- Upgrade the production database and website and deploy the post-deployment package.
Comments are closed.