How Can We Help?
In version 2.2.2 of XMPro Act, we introduced the ability for end-users to automatically filter object group lines based on user-defined criteria, and in 2.2.4 we’ve added additional ways to filter and search. The following guide details how filtering is configured, applied and cleared.
Please note that filter requests will not create or raise a request to the server. All filtering is applied to the form currently locally loaded on-device.
Configuration
6.6.0.2+ APIs
To enable Object Group filtering, a system administrator can go into the properties of the Object Group, and set the Filter Control property (under Behaviour > Options) to True.
Pre – 6.6.0.2 APIs
To enable Object Group filter functionality, a System Administrator will need to add a new Reference Label field on an ActivityA specific step in a process. It will be the user interface for that step (web form or a screen), for example, the Leave Application (screen interface or web form) will be the first Activity in the Leave Requisition process. The Leave Application Authorization will be the second step or Activity in the Leave Requisition process. One Process can have multiple activities. with name [Object Group Name]_AllowFilter, with a value set to True.
For example, if you would like to enable filtering on an Object Group named TST10Group, an administrator will need to add a new Reference Label named TST10Group_AllowFilter, with a value set to True. This will instruct XMPro Act to enable filter functionality for this Object Group.
It is important to note that this filtering functionality will only be available on Object Groups in which the lines are pre-populated by the XMPro Server. Filter buttons will not be shown in Object Groups which allow the end-user to add or remove lines. This behavior is intentional, to minimize confusion – where newly added lines could be automatically hidden by an active filter.
Screenshots
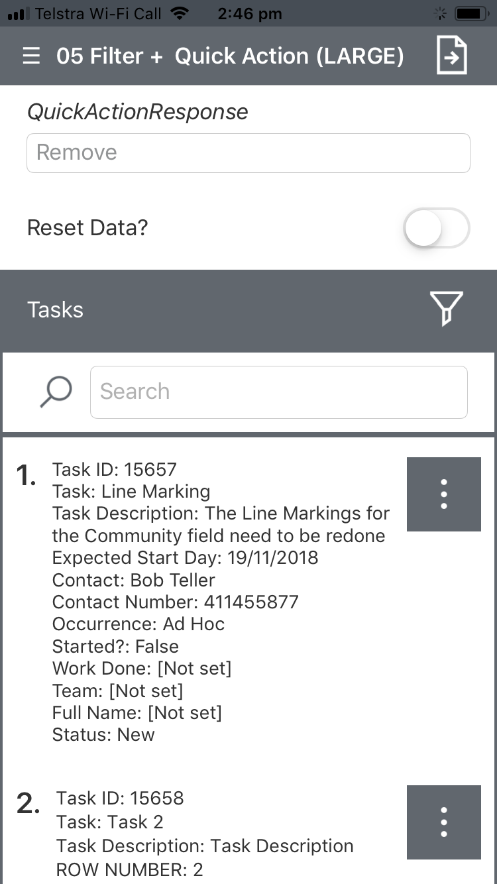
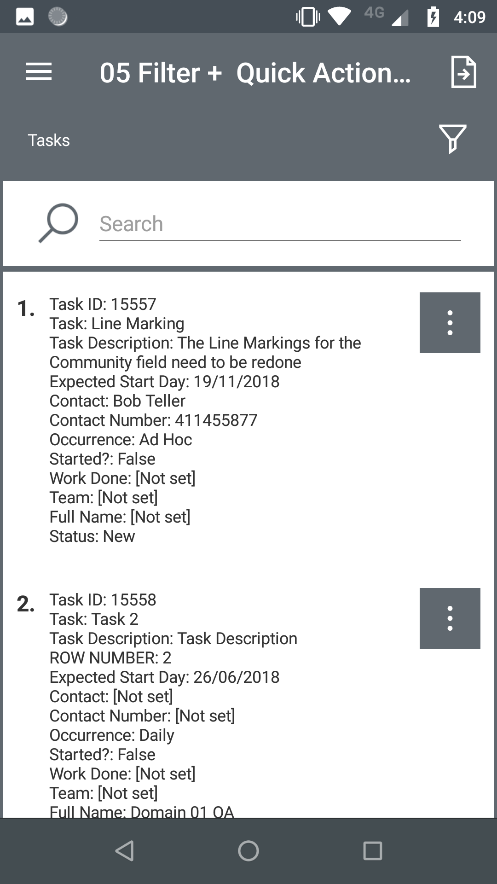
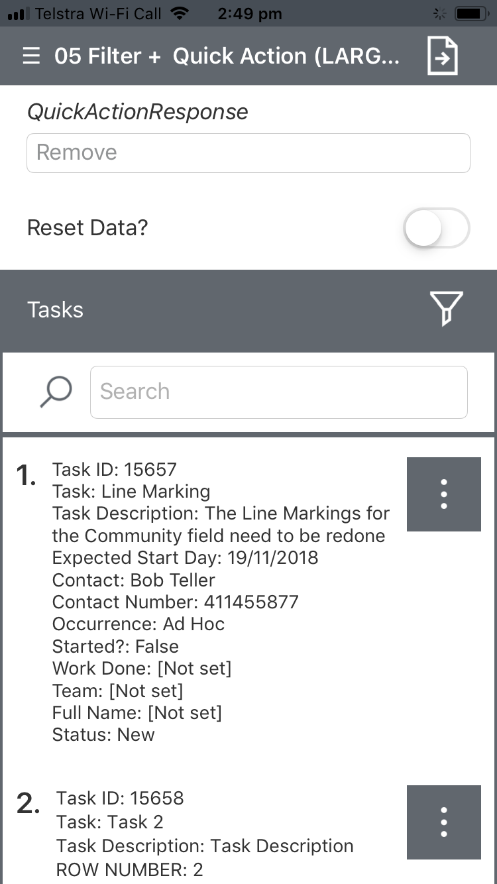
When opening a configured Activity, a filter icon will be displayed on the Object Group header.
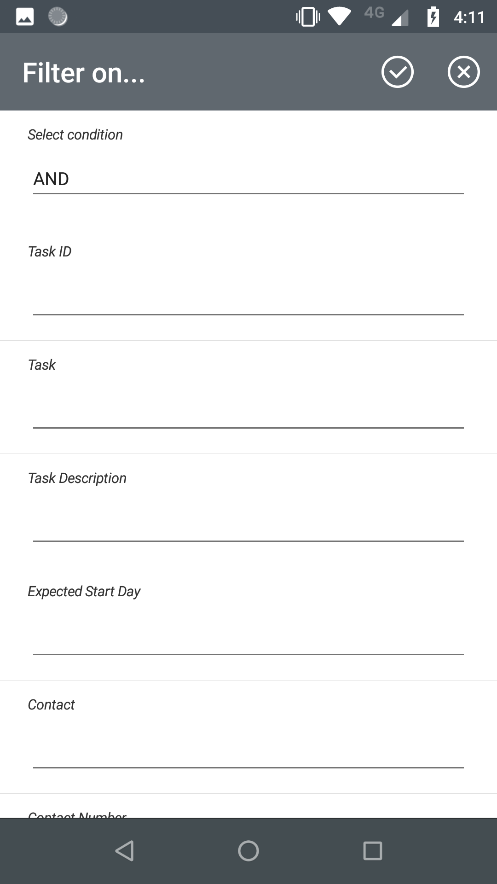
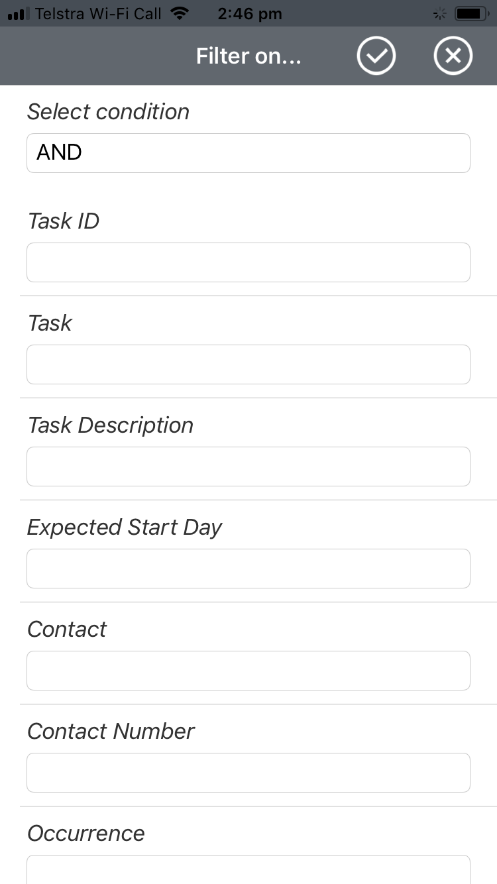
Tapping this filter icon will display a list of all visible fields currently belonging to the Object Group.
In this example, we want to see only lines with an “Occurrence” of “Ad Hoc”. Type the value, then tap the “Accept” tick box in the top right corner.
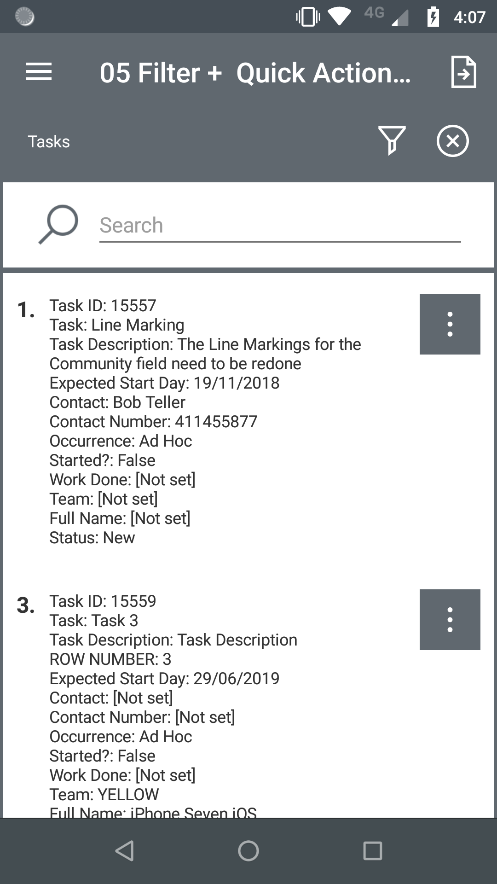
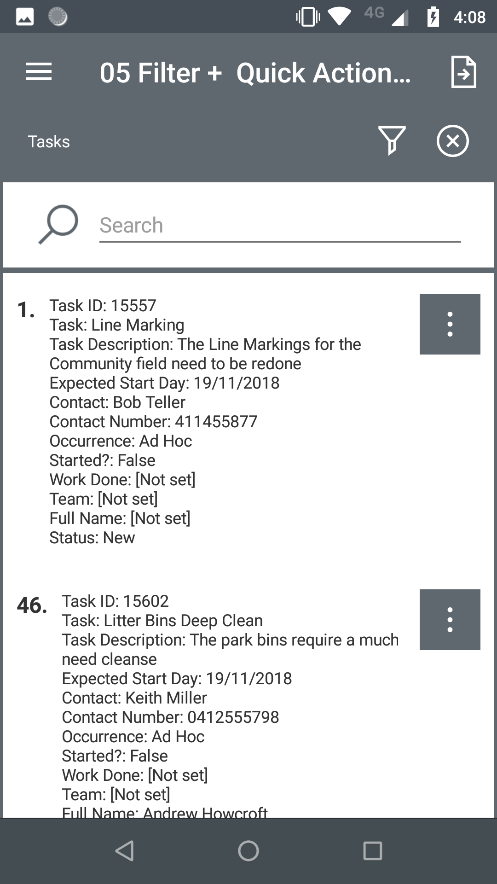
The filter view disappears, and all lines that do not meet the filter criteria are removed from view. Note below that Line #2 is no longer visible. Also, note that the “Clear Filter” icon is now visible on the Object Group header – this indicates a filter has been applied to the Object Group.
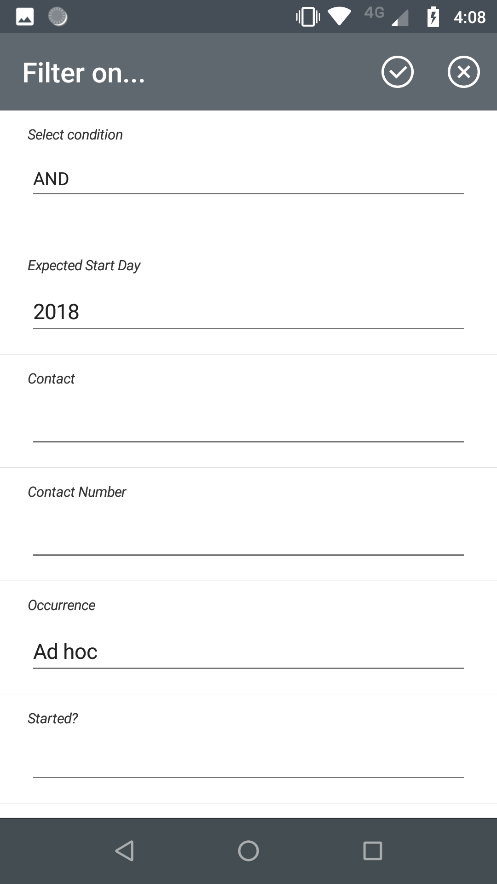
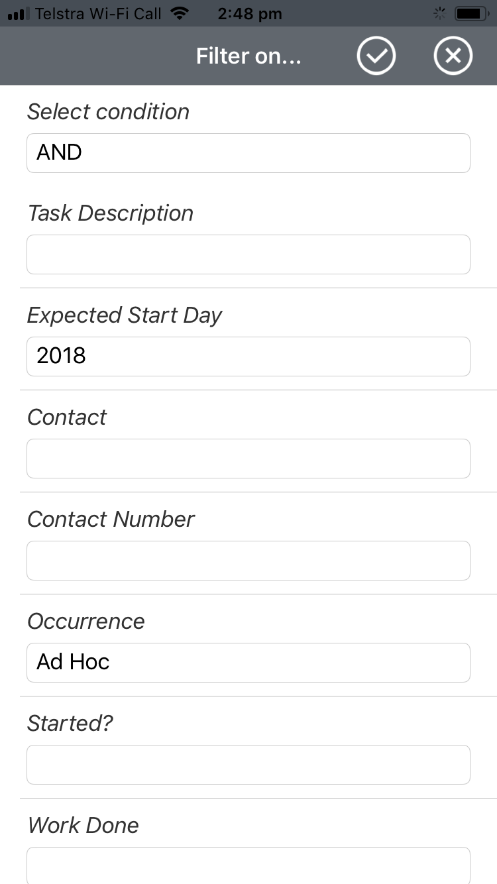
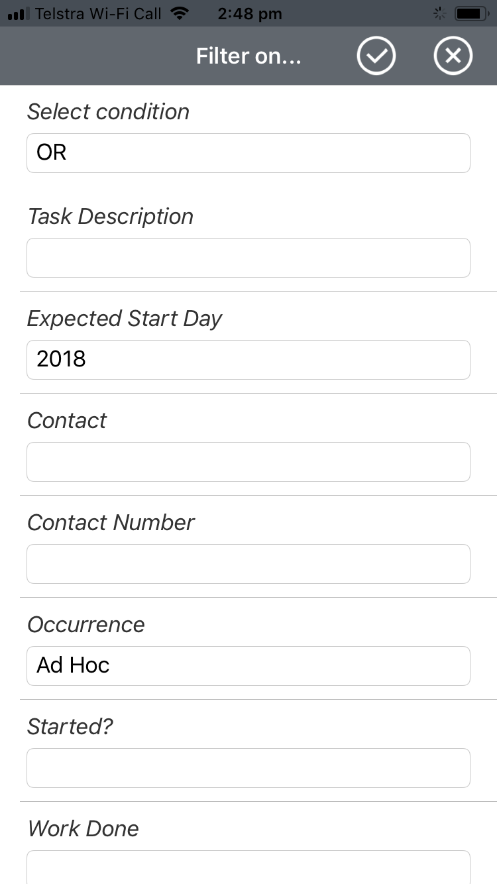
The filter can also be applied using multiple criteria. In the screenshot below we have reopened the filter view and decided we want to see only “Ad Hoc” lines with an “Expected Start Day” in 2018.
Note that lines #2 through #45 have now been hidden from view.
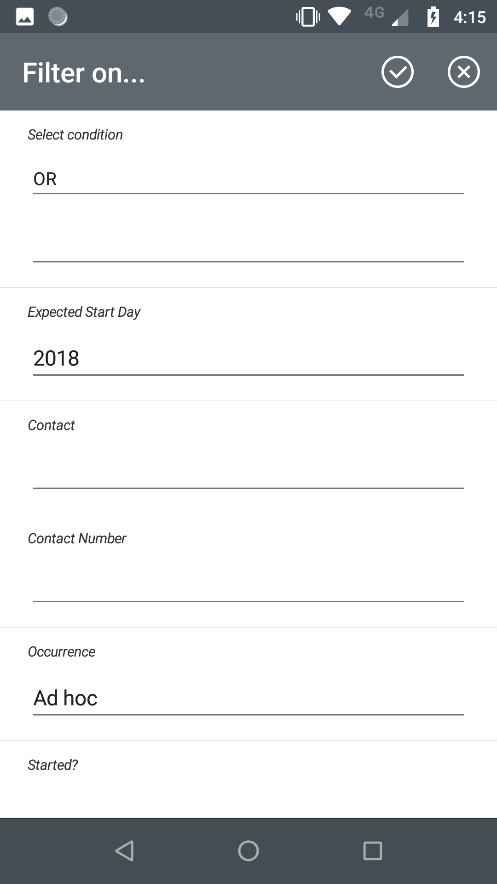
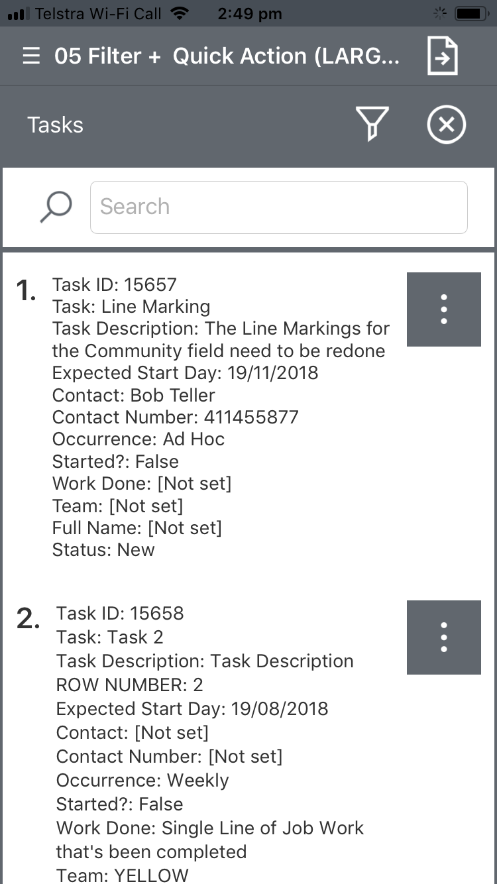
We can also set it to filter for items with either “Ad Hoc” or an Expected Start Day in 2018. You can do this by going into the Filter and changing “Select Condition” from AND to OR.
Line #2 appears again, as it has an Expected Start Day in 2018. If you go back into Filters and change the Condition to AND again, Line #2 would disappear.
Tap the “Clear Filter” X icon to remove the filter criteria and display all lines again.
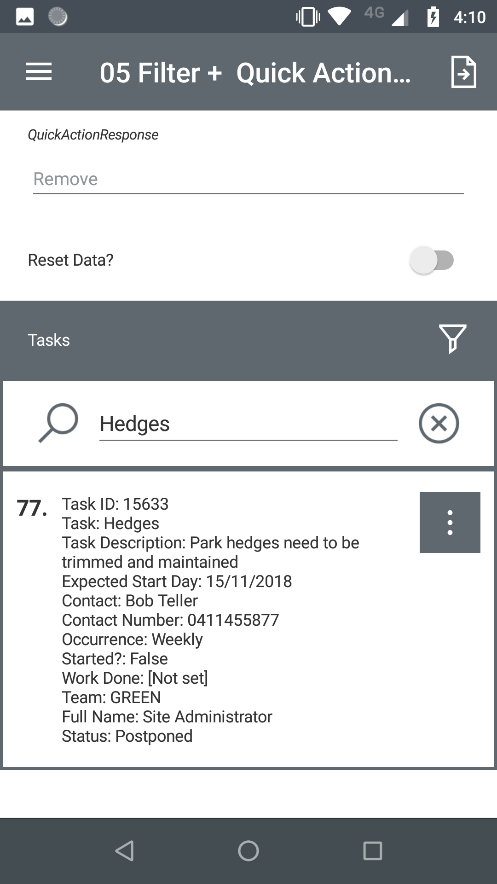
You can also use the Search Bar to quickly filter for a single item. For example, if we want to only look for items that contain the word “Hedges”, we can enter “Hedges” into the Search bar. The Search Bar is a wildcard search and will look in every field in each line for the text you enter.
Just like with the filter, you can tap the X next to it to clear the search.










Comments are closed.