How Can We Help?
Here’s a quick guide to verify your Data Stream DesignerIs a model-driven approach to connect, transform and action real-time “streaming” data in a visual, drag and drop manner. and Stream HostIs a client application which hosts/executes the Use Cases designed by the user in the IoT Portal. installations (console version is used in this illustration).
Step 1:
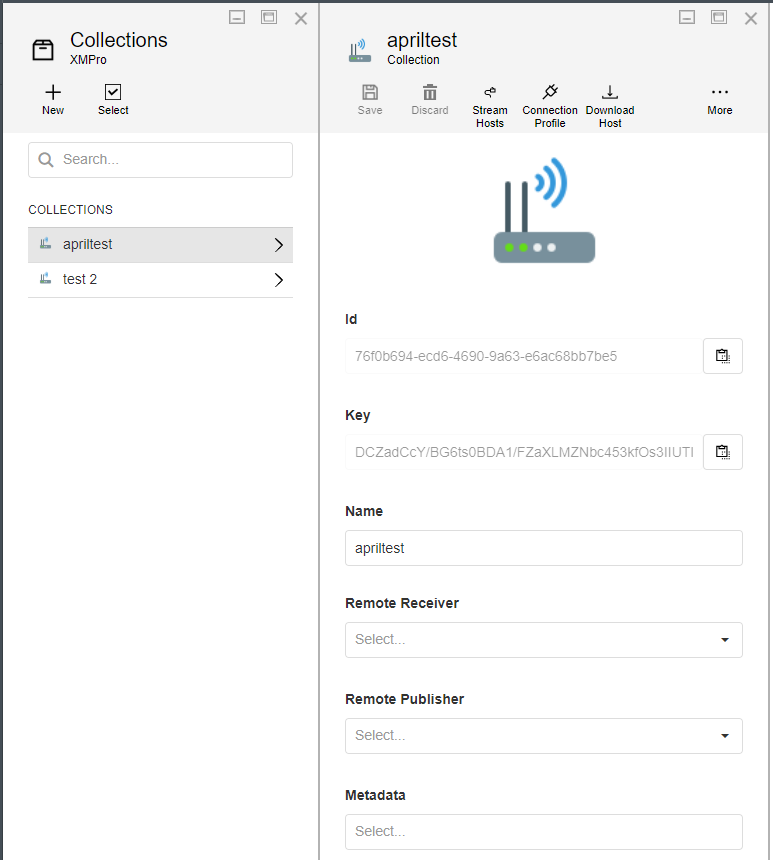
Go to the CollectionIs a virtual grouping of Stream Hosts. All Stream Hosts in a collection are broadcasted the same instructions from the IoT Portal. This way a Use Case can be mass deployed to all the Stream Hosts in a given Collection. you used for your StreamConsists of a combination of Stream Objects allowing real-time data to flow through. It is created to address a particular use case. Host installation, and set Remote Receiver and Remove Publisher to blank if they aren’t already.
Step 2:
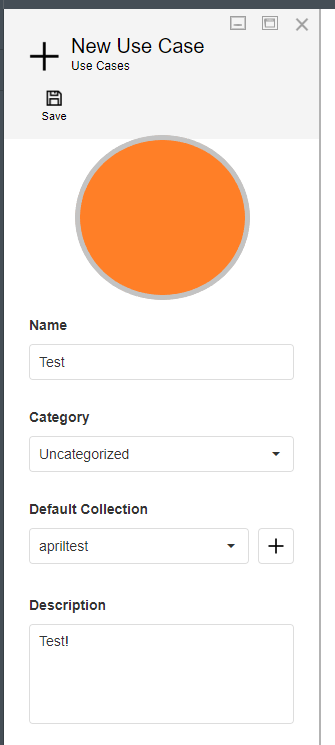
Create a new Use Case. Set the Default Collection to the one you used during your Stream Host installation.
Step 3:
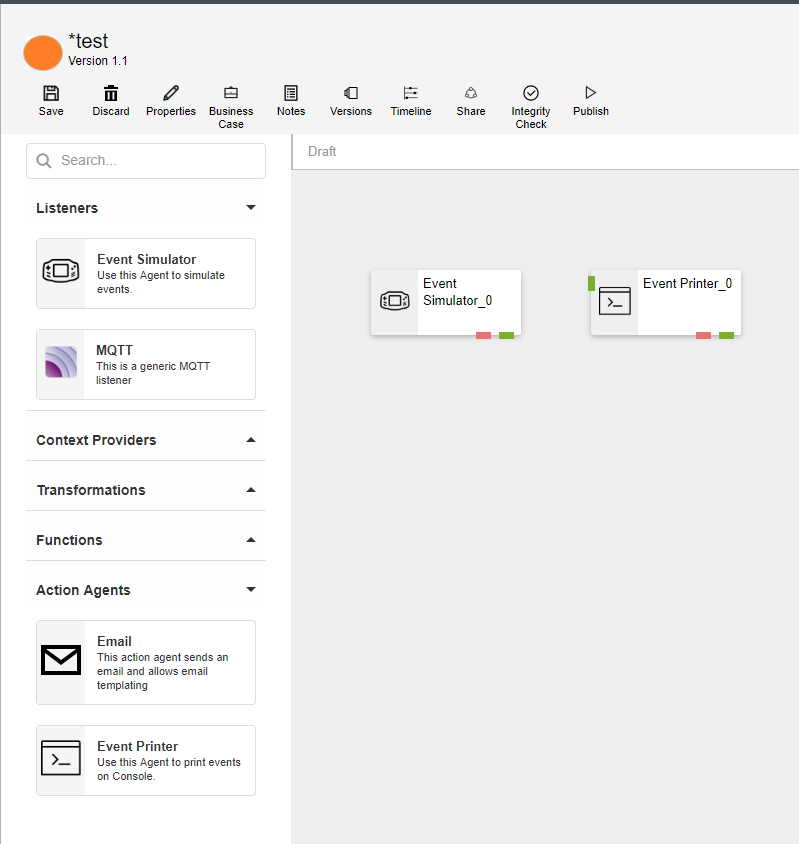
Drag a Event Simulator ListenerIs a Stream Object that is responsible to ingest data from sensors and third party systems. Agent and a Event Printer Action AgentIs a Stream Object that is responsible to consume events in a stream to perform possible internal or external/third-party actions (e.g. data warehouse updates, sending notifications etc.). Once an event is consumed by an Action Agent, its relative response is pushed back onto the stream, upon which further processing is done (if required). onto your Data Stream Designer page, then save the page. If you don’t have those two agents, ask your XMPro rep for access.
Step 4:
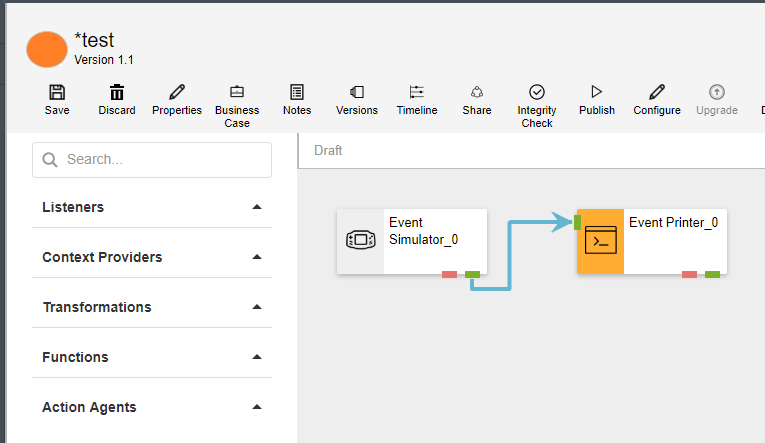
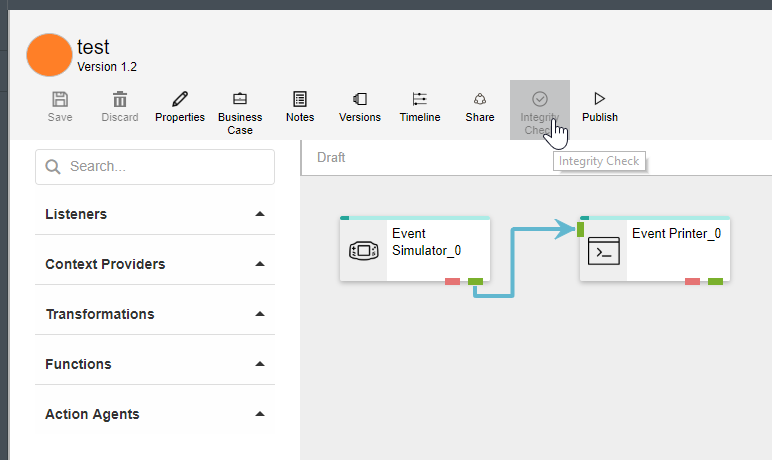
Link the Output of the Event Simulator to the input of the Event Printer.
Step 5:
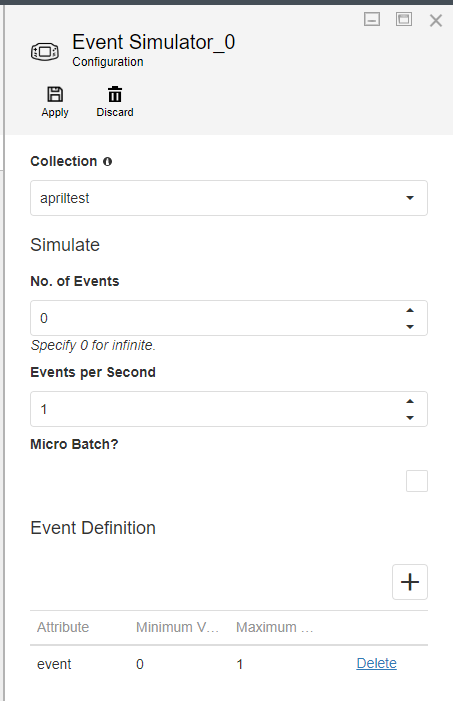
Double click the Event Simulator, and set the Events per second to 1, and add an Event Definition with a Minimum Value of 0, and a Maximum Value of 1. Then click Apply.
Step 6:
Click the Integrity Check to check for any errors. You shouldn’t get any at this point but its always good to check.
Step 7:
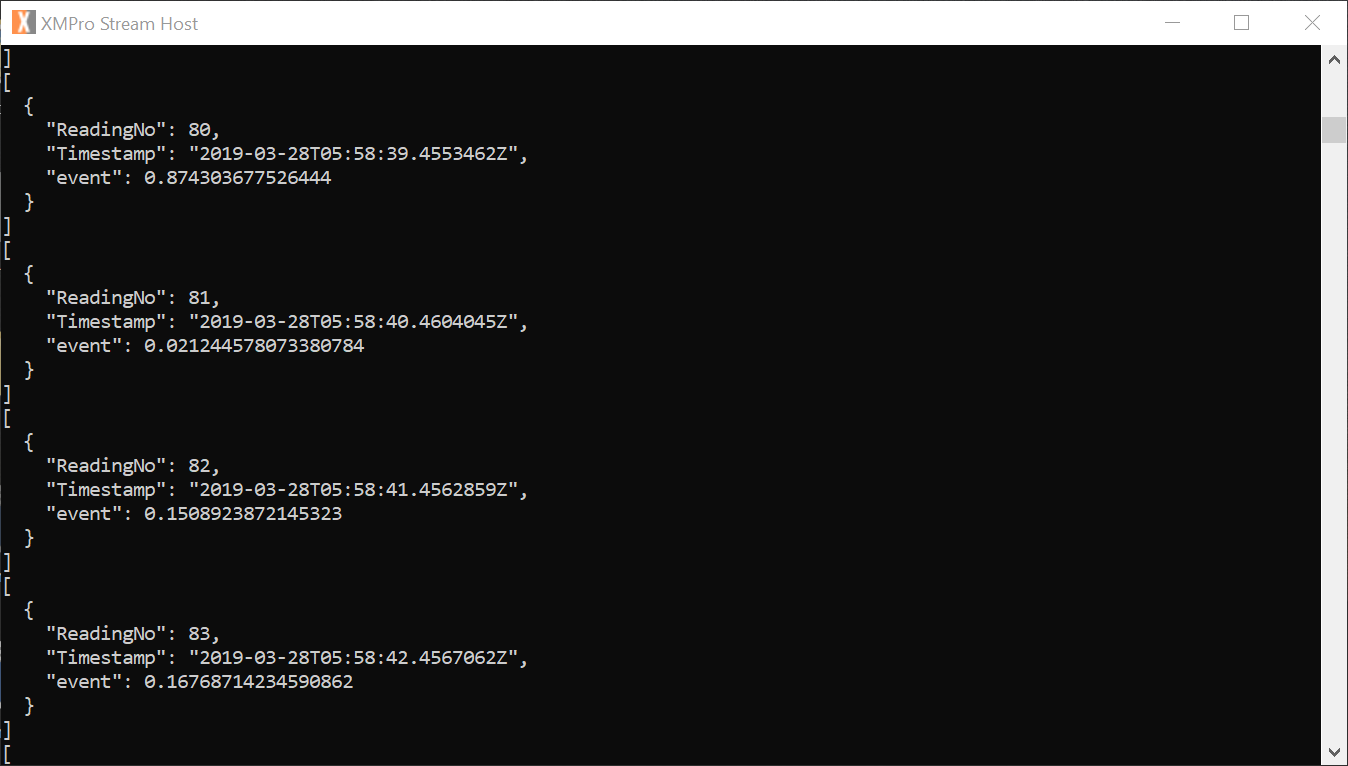
Make sure your Stream Host is running as administrator, then click Publish. If everything is setup correctly, you should start seeing entries like this in your Stream Host:

Comments are closed.