How Can We Help?
Version 6.7 of the XMPro Action Hub provides support for deploying Power Pages. The following guide will take you through how to enable the Power Page functionIs a Stream Objects that performs mathematical and statistical operations. in Action Hub and how to deploy your first Power Page.
1. Enable Power Page Administration
The Power Page Administration feature is disabled in the Action Hub by default. To enable it you need to do the following:
- Login to XMDesignerIs used to configure XMPro BPM solutions. and connect to the Action Hub instance.
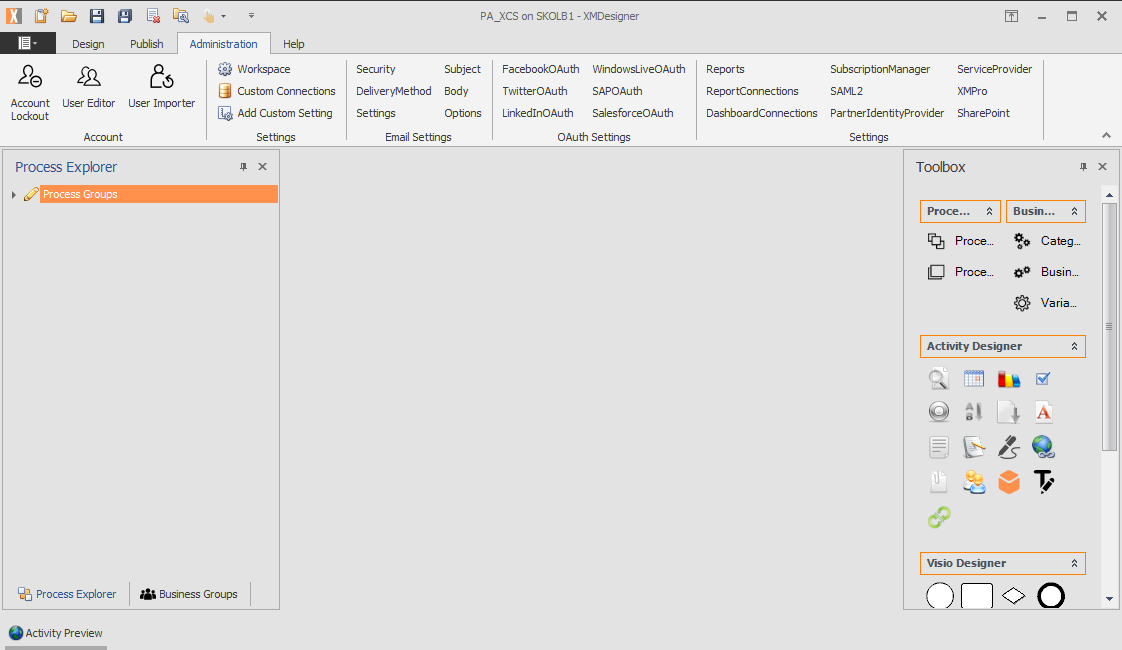
- Navigate to the ‘Workspace’ settings in the ‘Administration’ tab
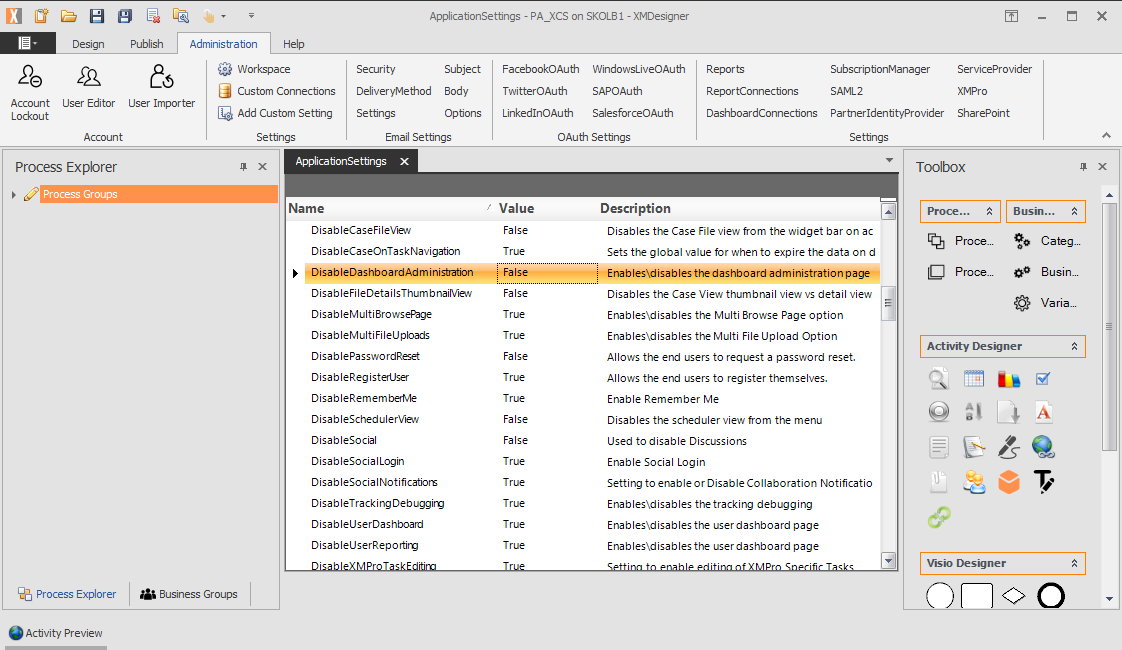
- Set the DisableDashboardAdministration setting to False
2. Grant user access to the Power Page Administration function
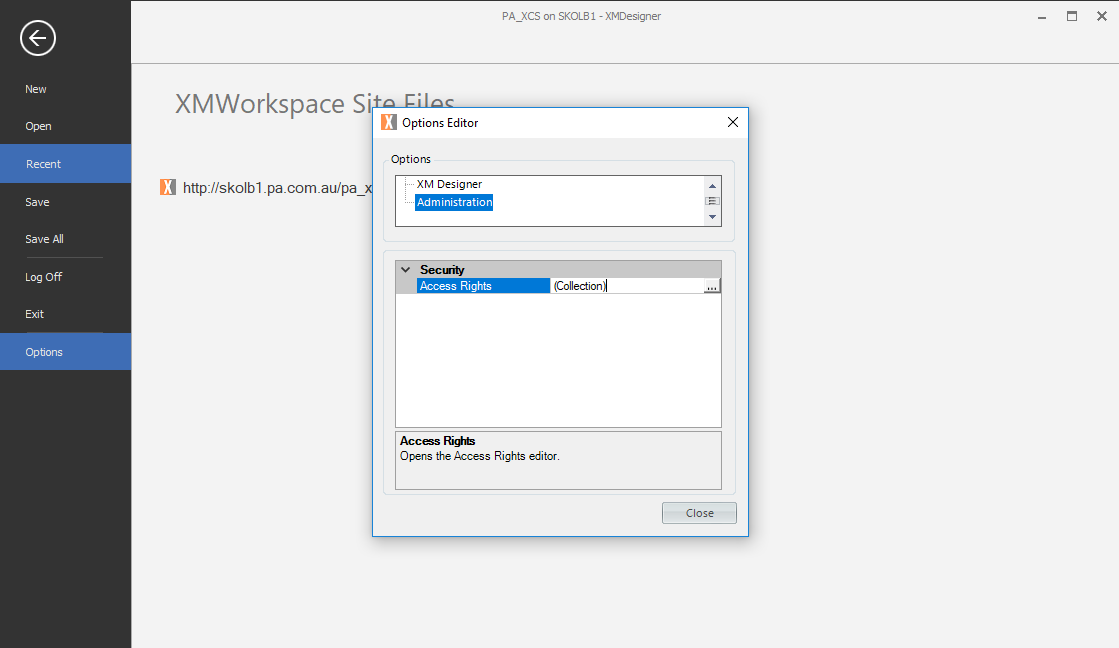
- Navigate to the ‘Access Rights’ dialog by expanding the ‘Access Rights’ property under the ‘Administration’ option of the XMDesigner Options editor
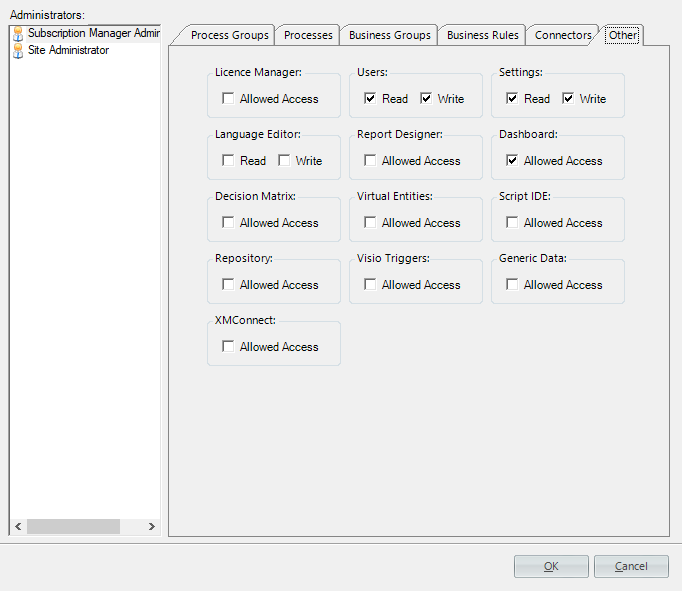
- Select the user you want to grant access for, navigate to the ‘Other’ tab and check the ‘Allow Access’ box under ‘Dashboard’
- Click OK to save the changes.
3. Login to the Action Hub
- Login to the Action Hub using the user that you configured in step 2.
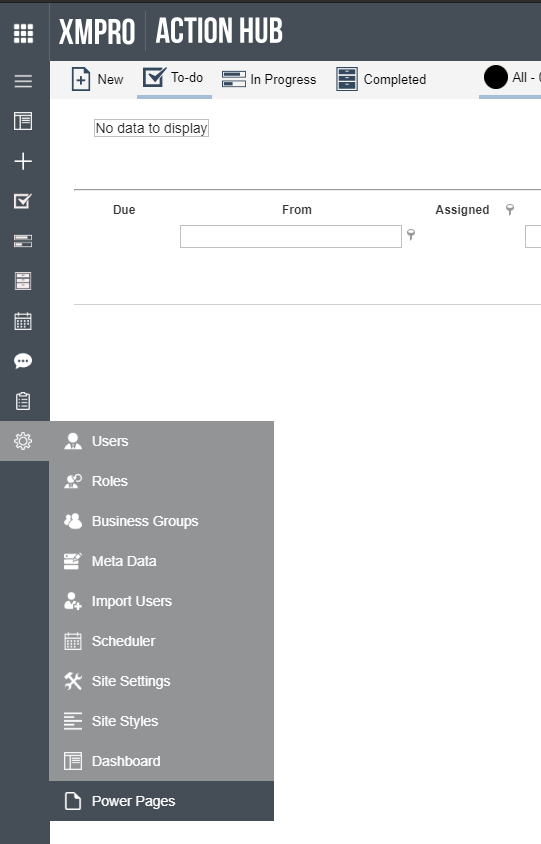
- Open the ‘Manage’ menu and select the ‘Power Pages’ item
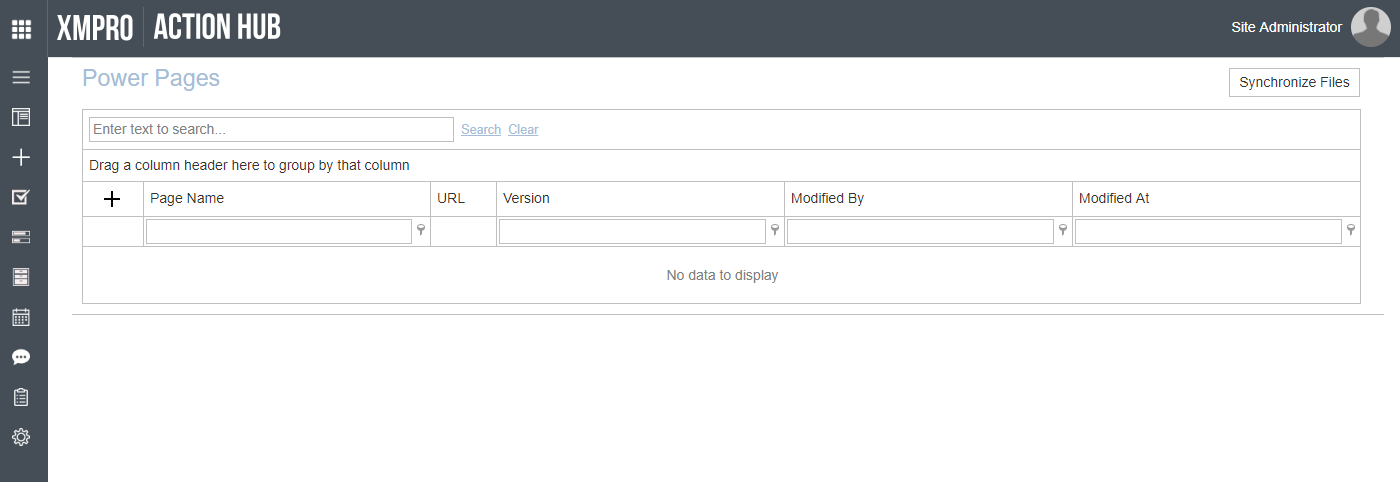
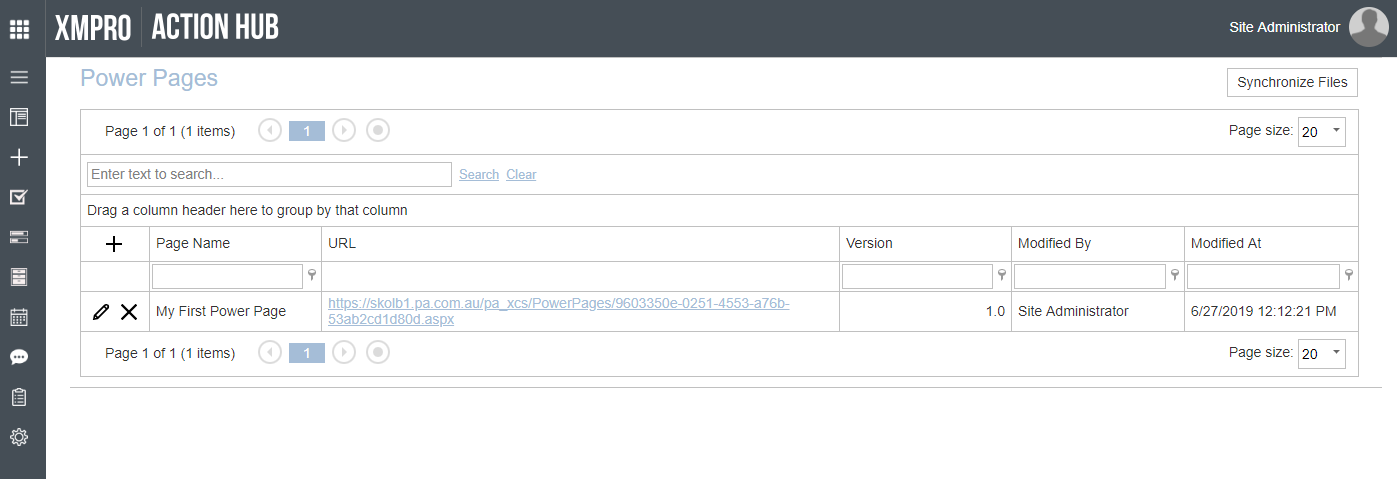
- You should see the ‘Power Pages’ administration page. Select the plus (+) icon to add a new Power Page
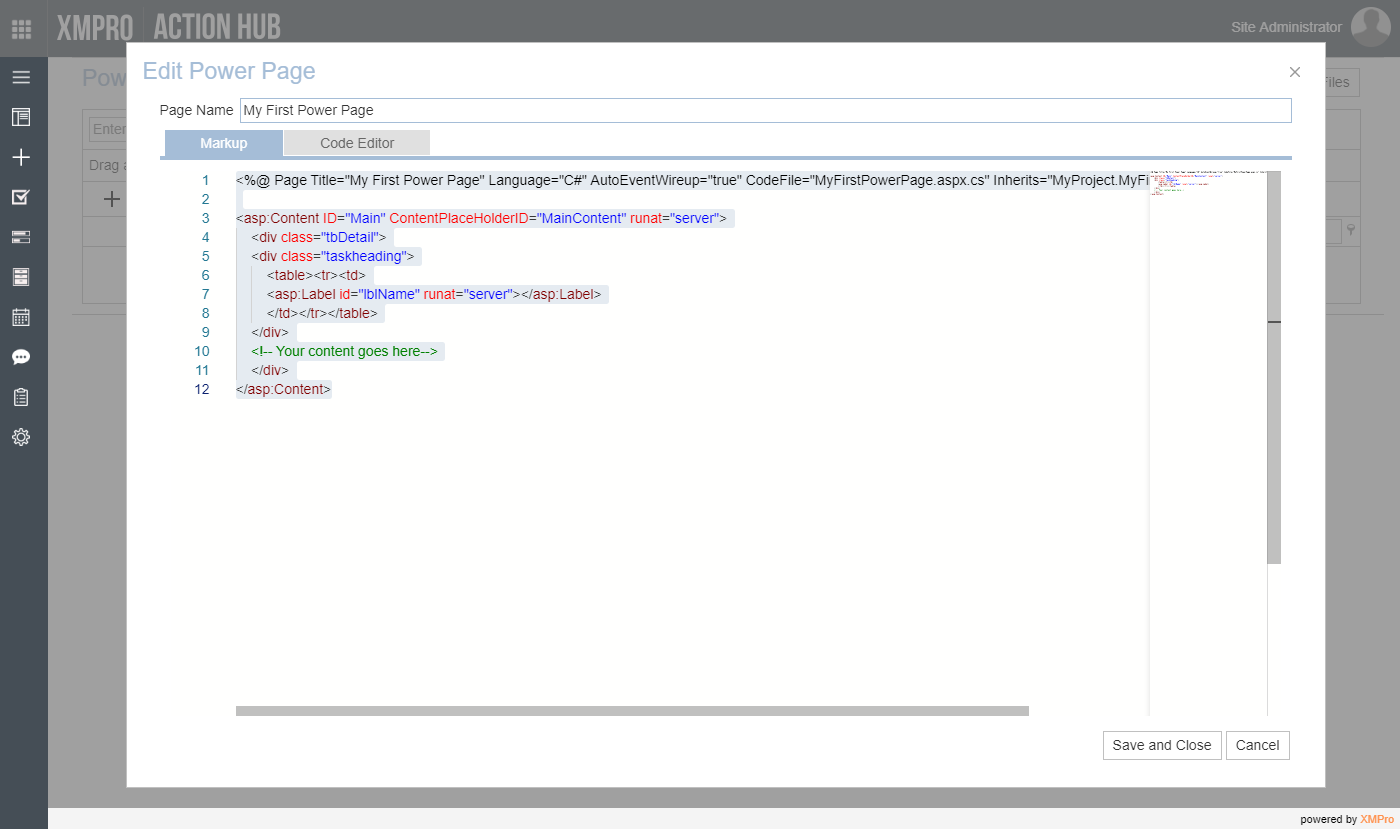
- Enter a name for the Power Page
- Copy the content of your markup (.aspx) file into the Markup tab
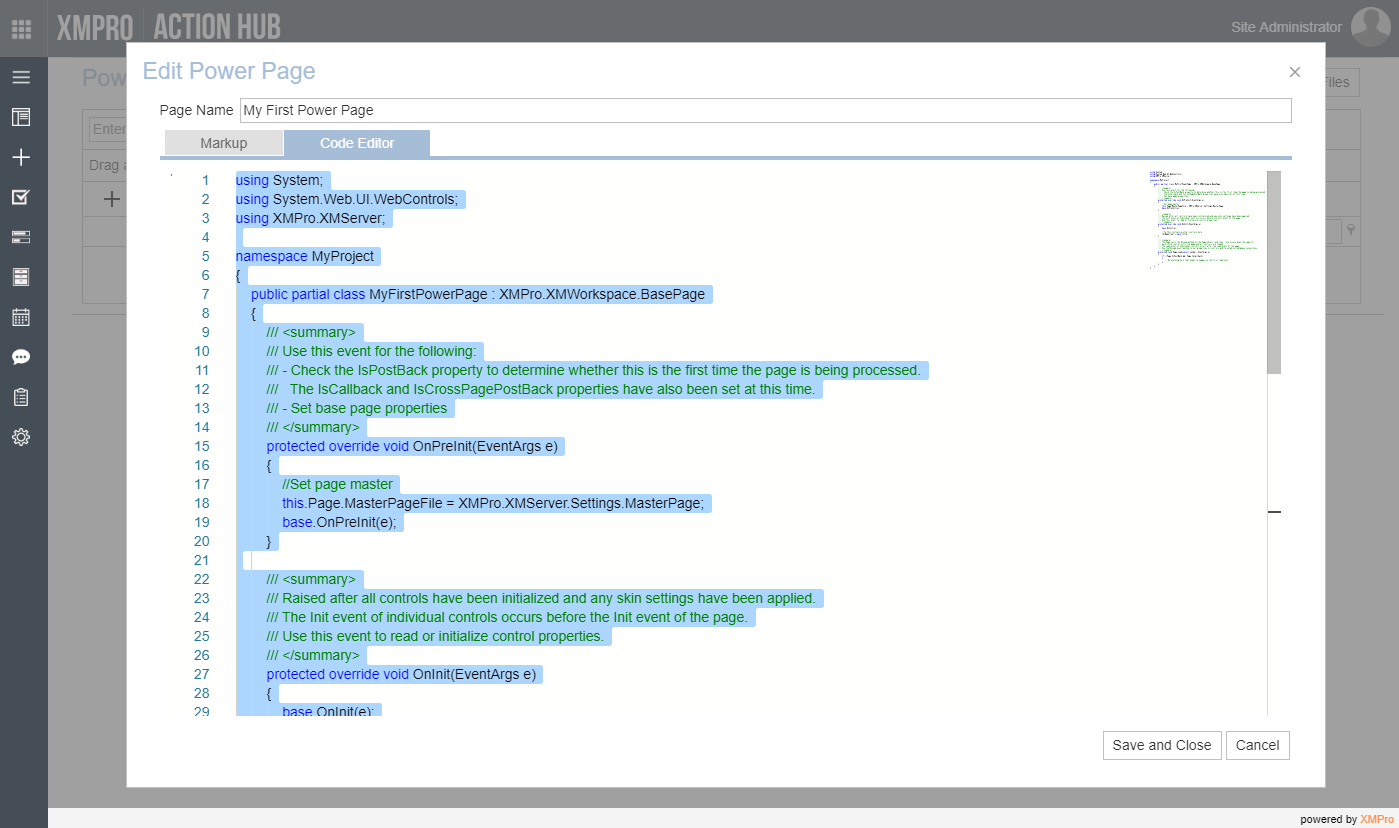
- Copy the content of your code (.aspx.cs) file into the code editor tab
- Click ‘Save and Close’
- The power page should be visible in the list
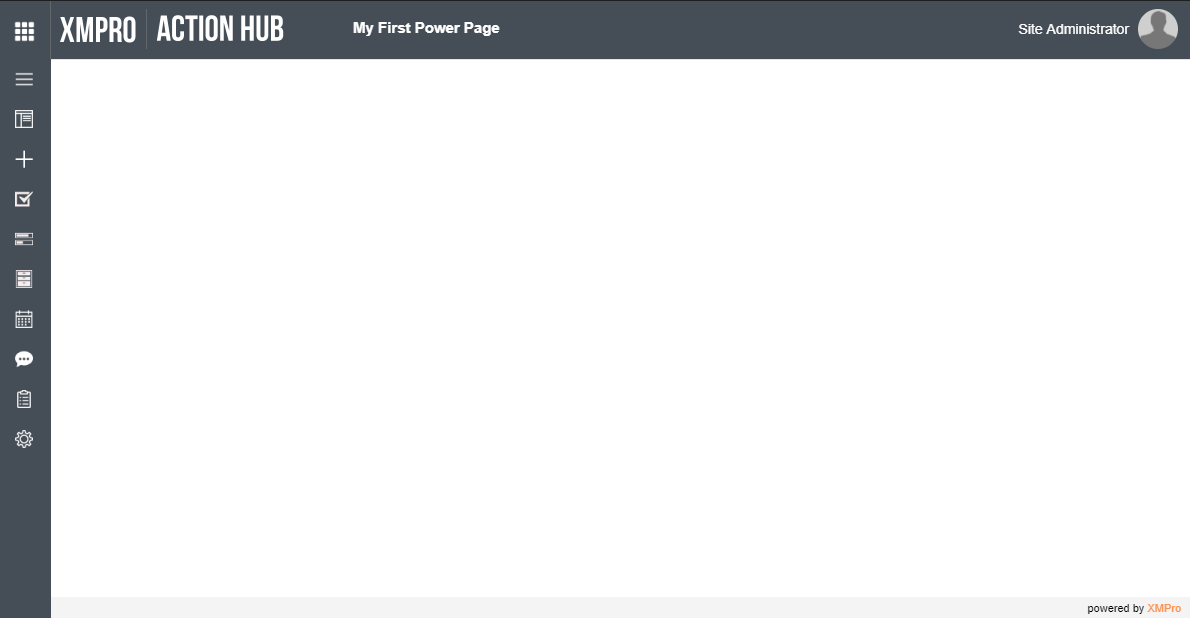
- – Click the URL link to view the power page

Comments are closed.