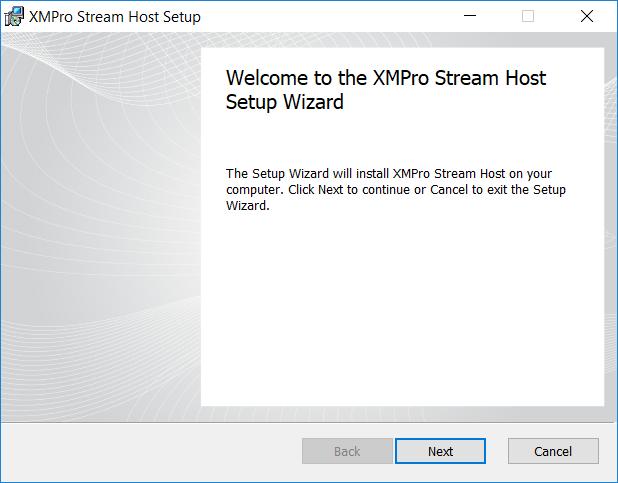
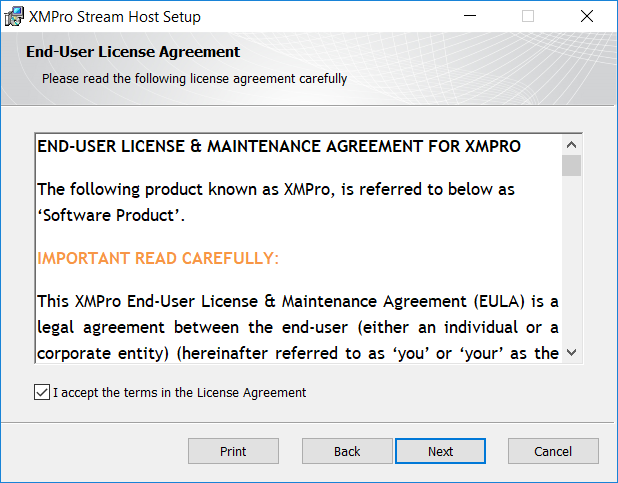
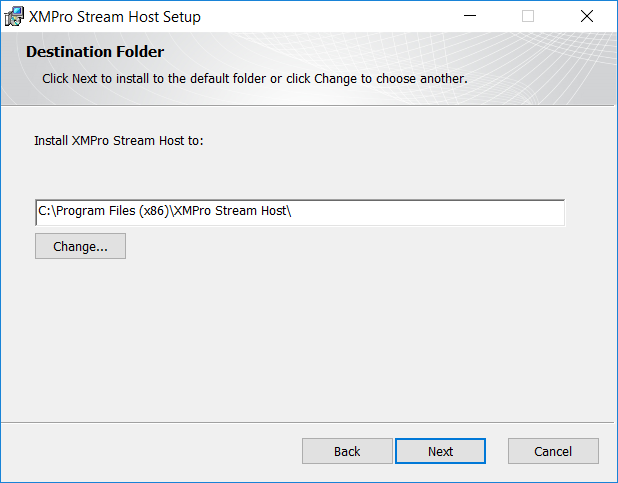
In this section of the guide, we are going to install the stream host. Start by unzipping the installer .zip file you’ve downloaded in the previous section and follow the steps below.
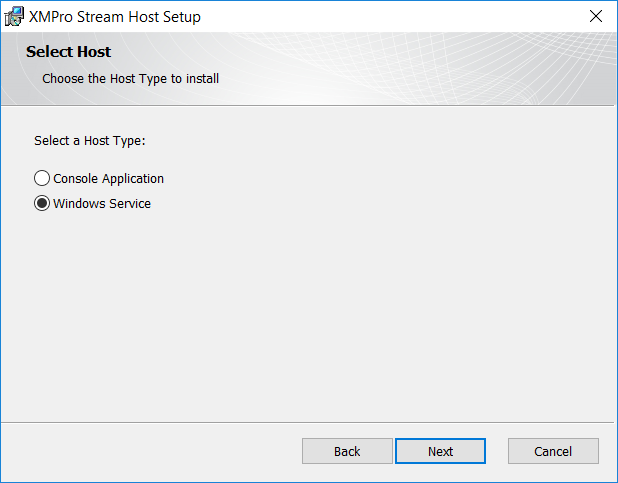
Select the type of host you would like to install and click Next. You can either install the stream host as a Windows Service or as a Console application.
The host type you need to choose will depend on your requirements. If you are installing the stream host for testing purposes, choose Console Application. If you are installing it to use it in a production environment, it is recommended that you choose to install it as a Windows Service.
Please note that a Windows Service will automatically start after installation completes. The Console application; however, needs to be run as administrator from the Start menu.
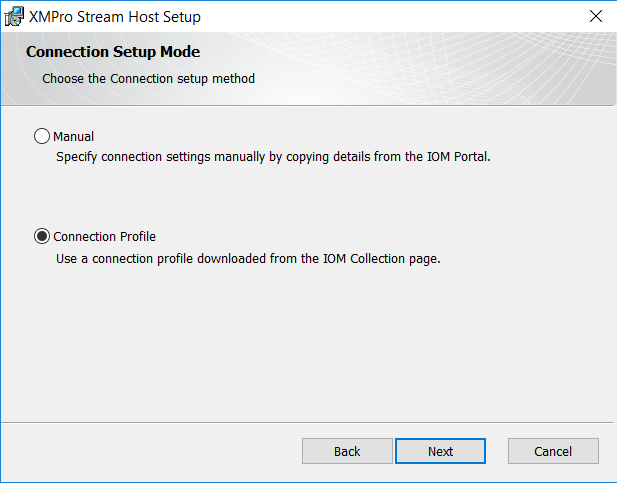
Select your preferred setup mode. If you choose to set up the stream host using a connection profile, choose Connection Profile. Otherwise, select Manual. Click Next.
Uploading a Collection Profile
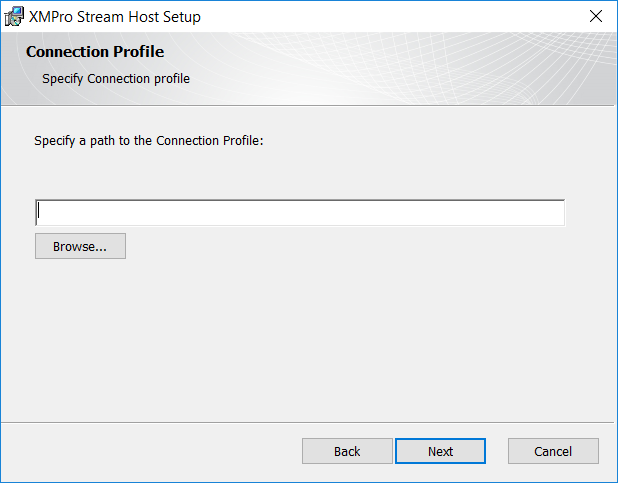
If you selected Connection Profile, upload the connection profile file you’ve downloaded earlier in the guide. Click Next again and let the wizard install the stream host. If you selected Manual, see the section below for instructions on how to set it up.
Manually Providing Connection Settings
If you decide to manually set up the connection settings for the stream host, you can find the values you need by following the steps below.
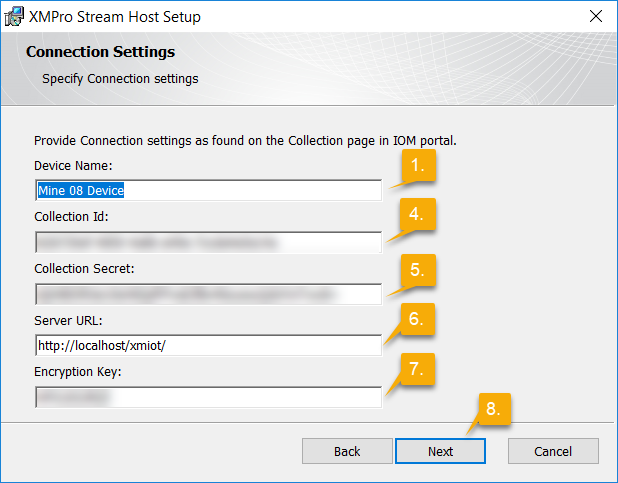
- Choose a name for the device.
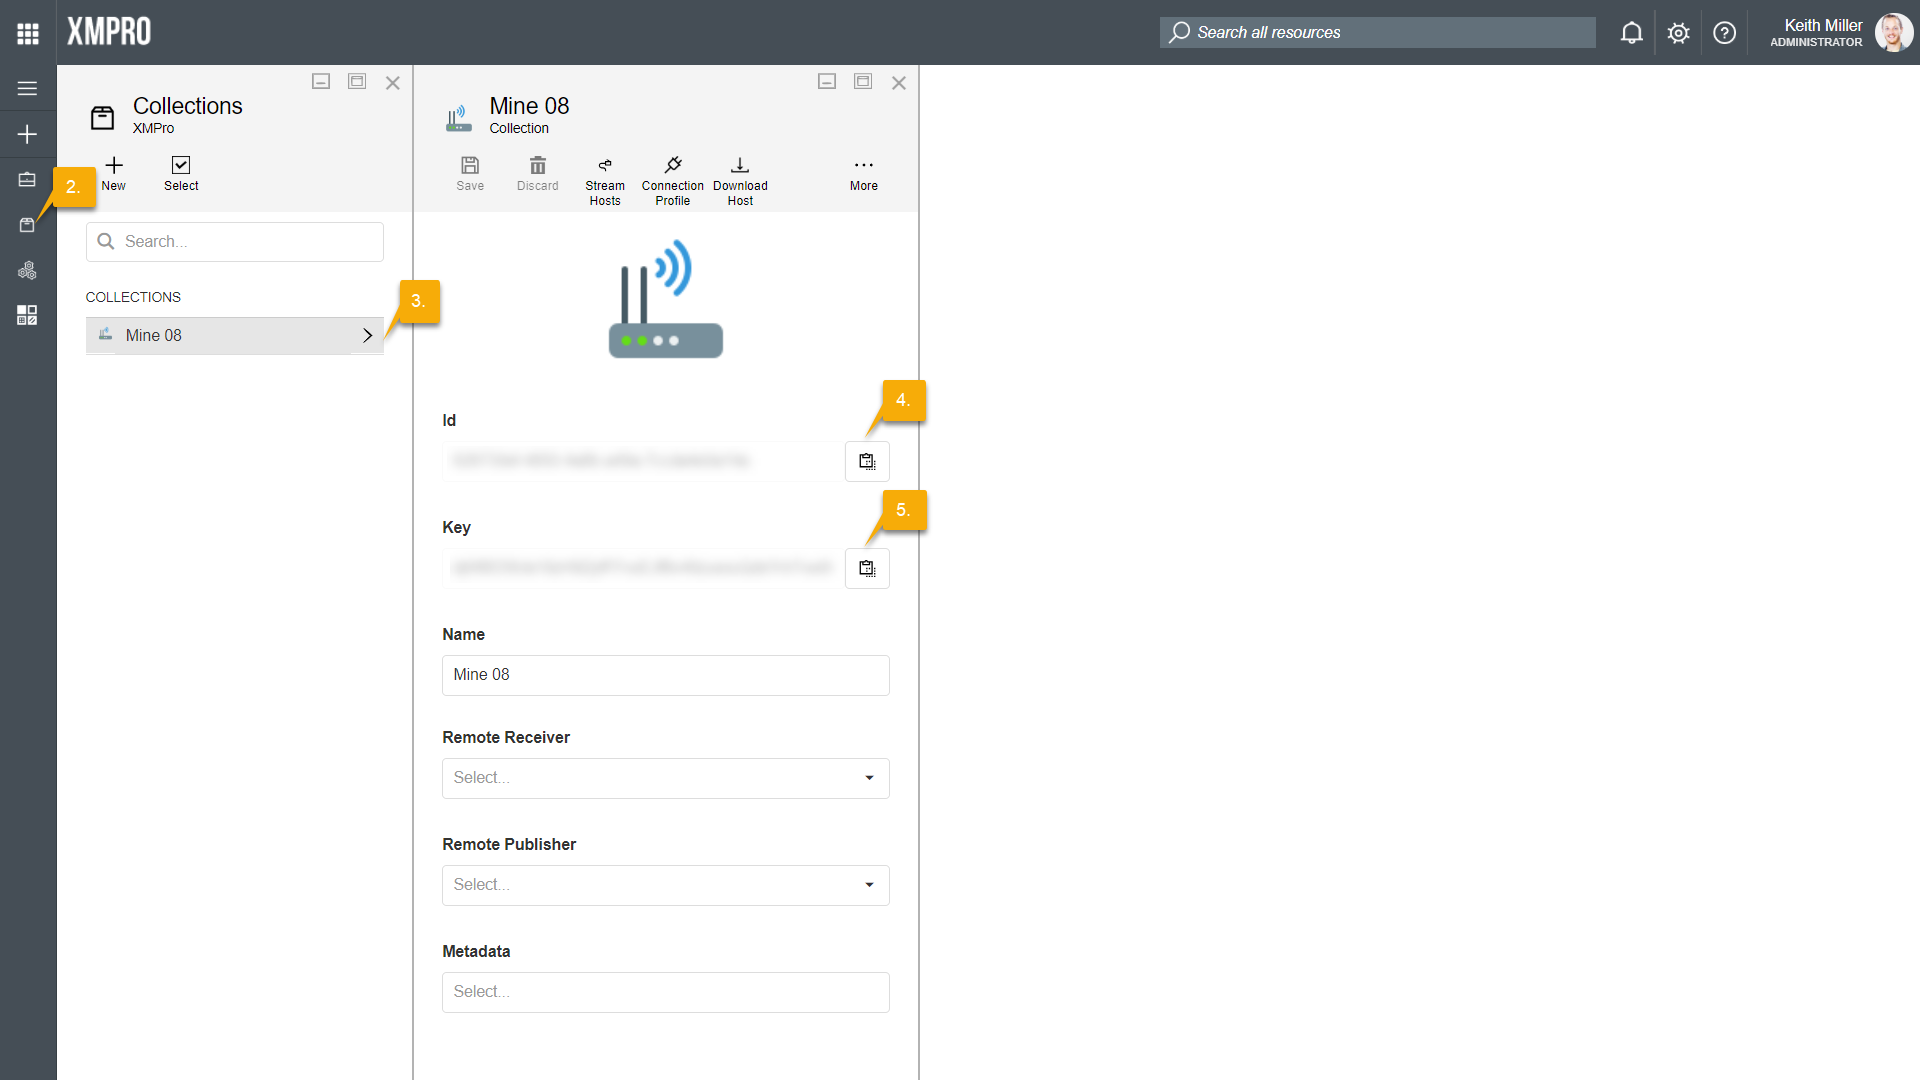
- Log into XMPro IoT and open the Collections page from the left-hand menu.
- Select the collection you wish to use.
- Copy the ID of the collection from XMPro IoT to your clipboard by clicking on the copy button and paste it in the Collection Id field in the installer.
- Copy the Key field in XMPro IoT to your clipboard by clicking on the copy button and paste it in the Collection Secret field in the installer.
- Add the Server URL for XMPro IoT in the installer, for example “http://localhost/xmiot/“.
- Add an encryption key that can be used in the Encryption Key field in the installer.
- Click Next and let the wizard install the stream host.

Comments are closed.